


 Simple and impressive – two words that are not often paired when discussing baking. We’re bombarded these days with elaborate cakes, fancy tarts, artisanal loaves, even encouragement to make challenging puff pastry at home. All rewarding, I’m sure, and delicious too, but also challenging, time consuming, and unlikely to succeed without practice.
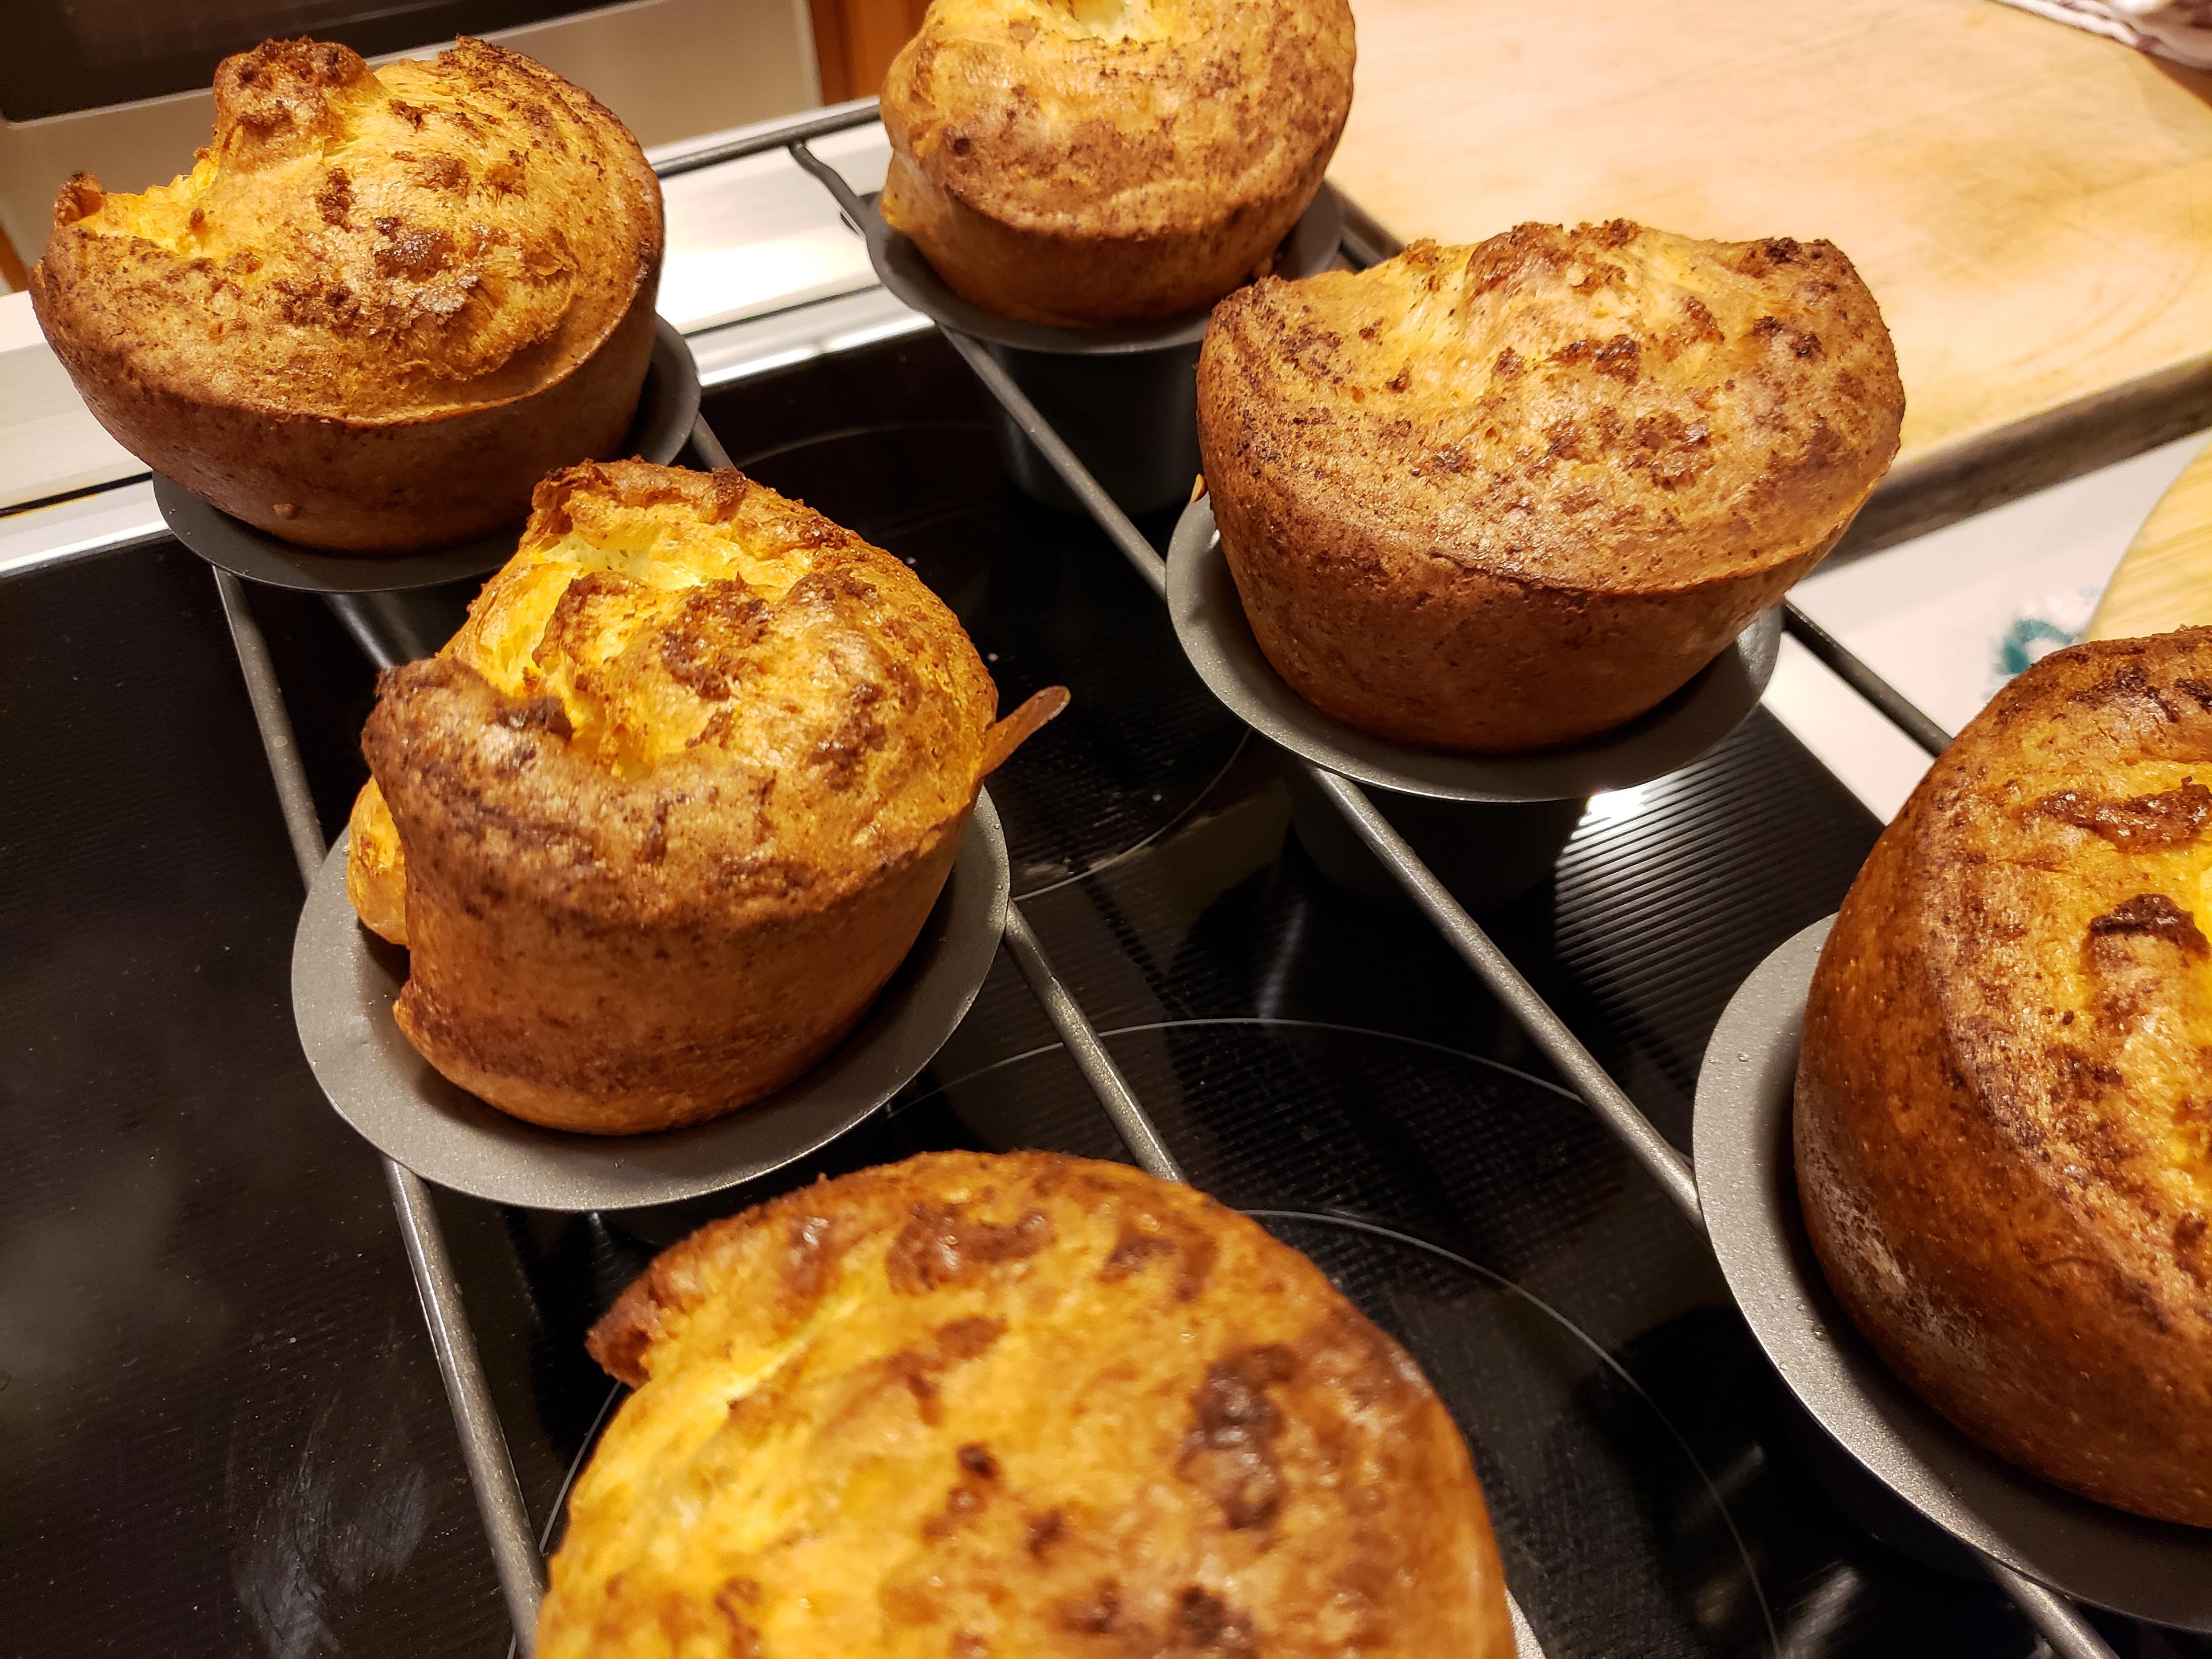
Popovers, on the other hand, are a four-ingredient wonder that transform into delicious, golden brown sculptures. They’re simple to mix, easy to bake, and will perform the first time.
The only downside to popovers is that they should be eaten right out of the oven. I can live with that. This is what has kept popovers out of commercial bakeries and under our radar. You can reheat them, but they never fully regain that crisp exterior and fresh-baked eggy interior.
At the Chimney Corners, a long departed restaurant in Stamford, they used to send a basket of hot popovers table to table whenever they came out of the oven. That’s the way to do it.
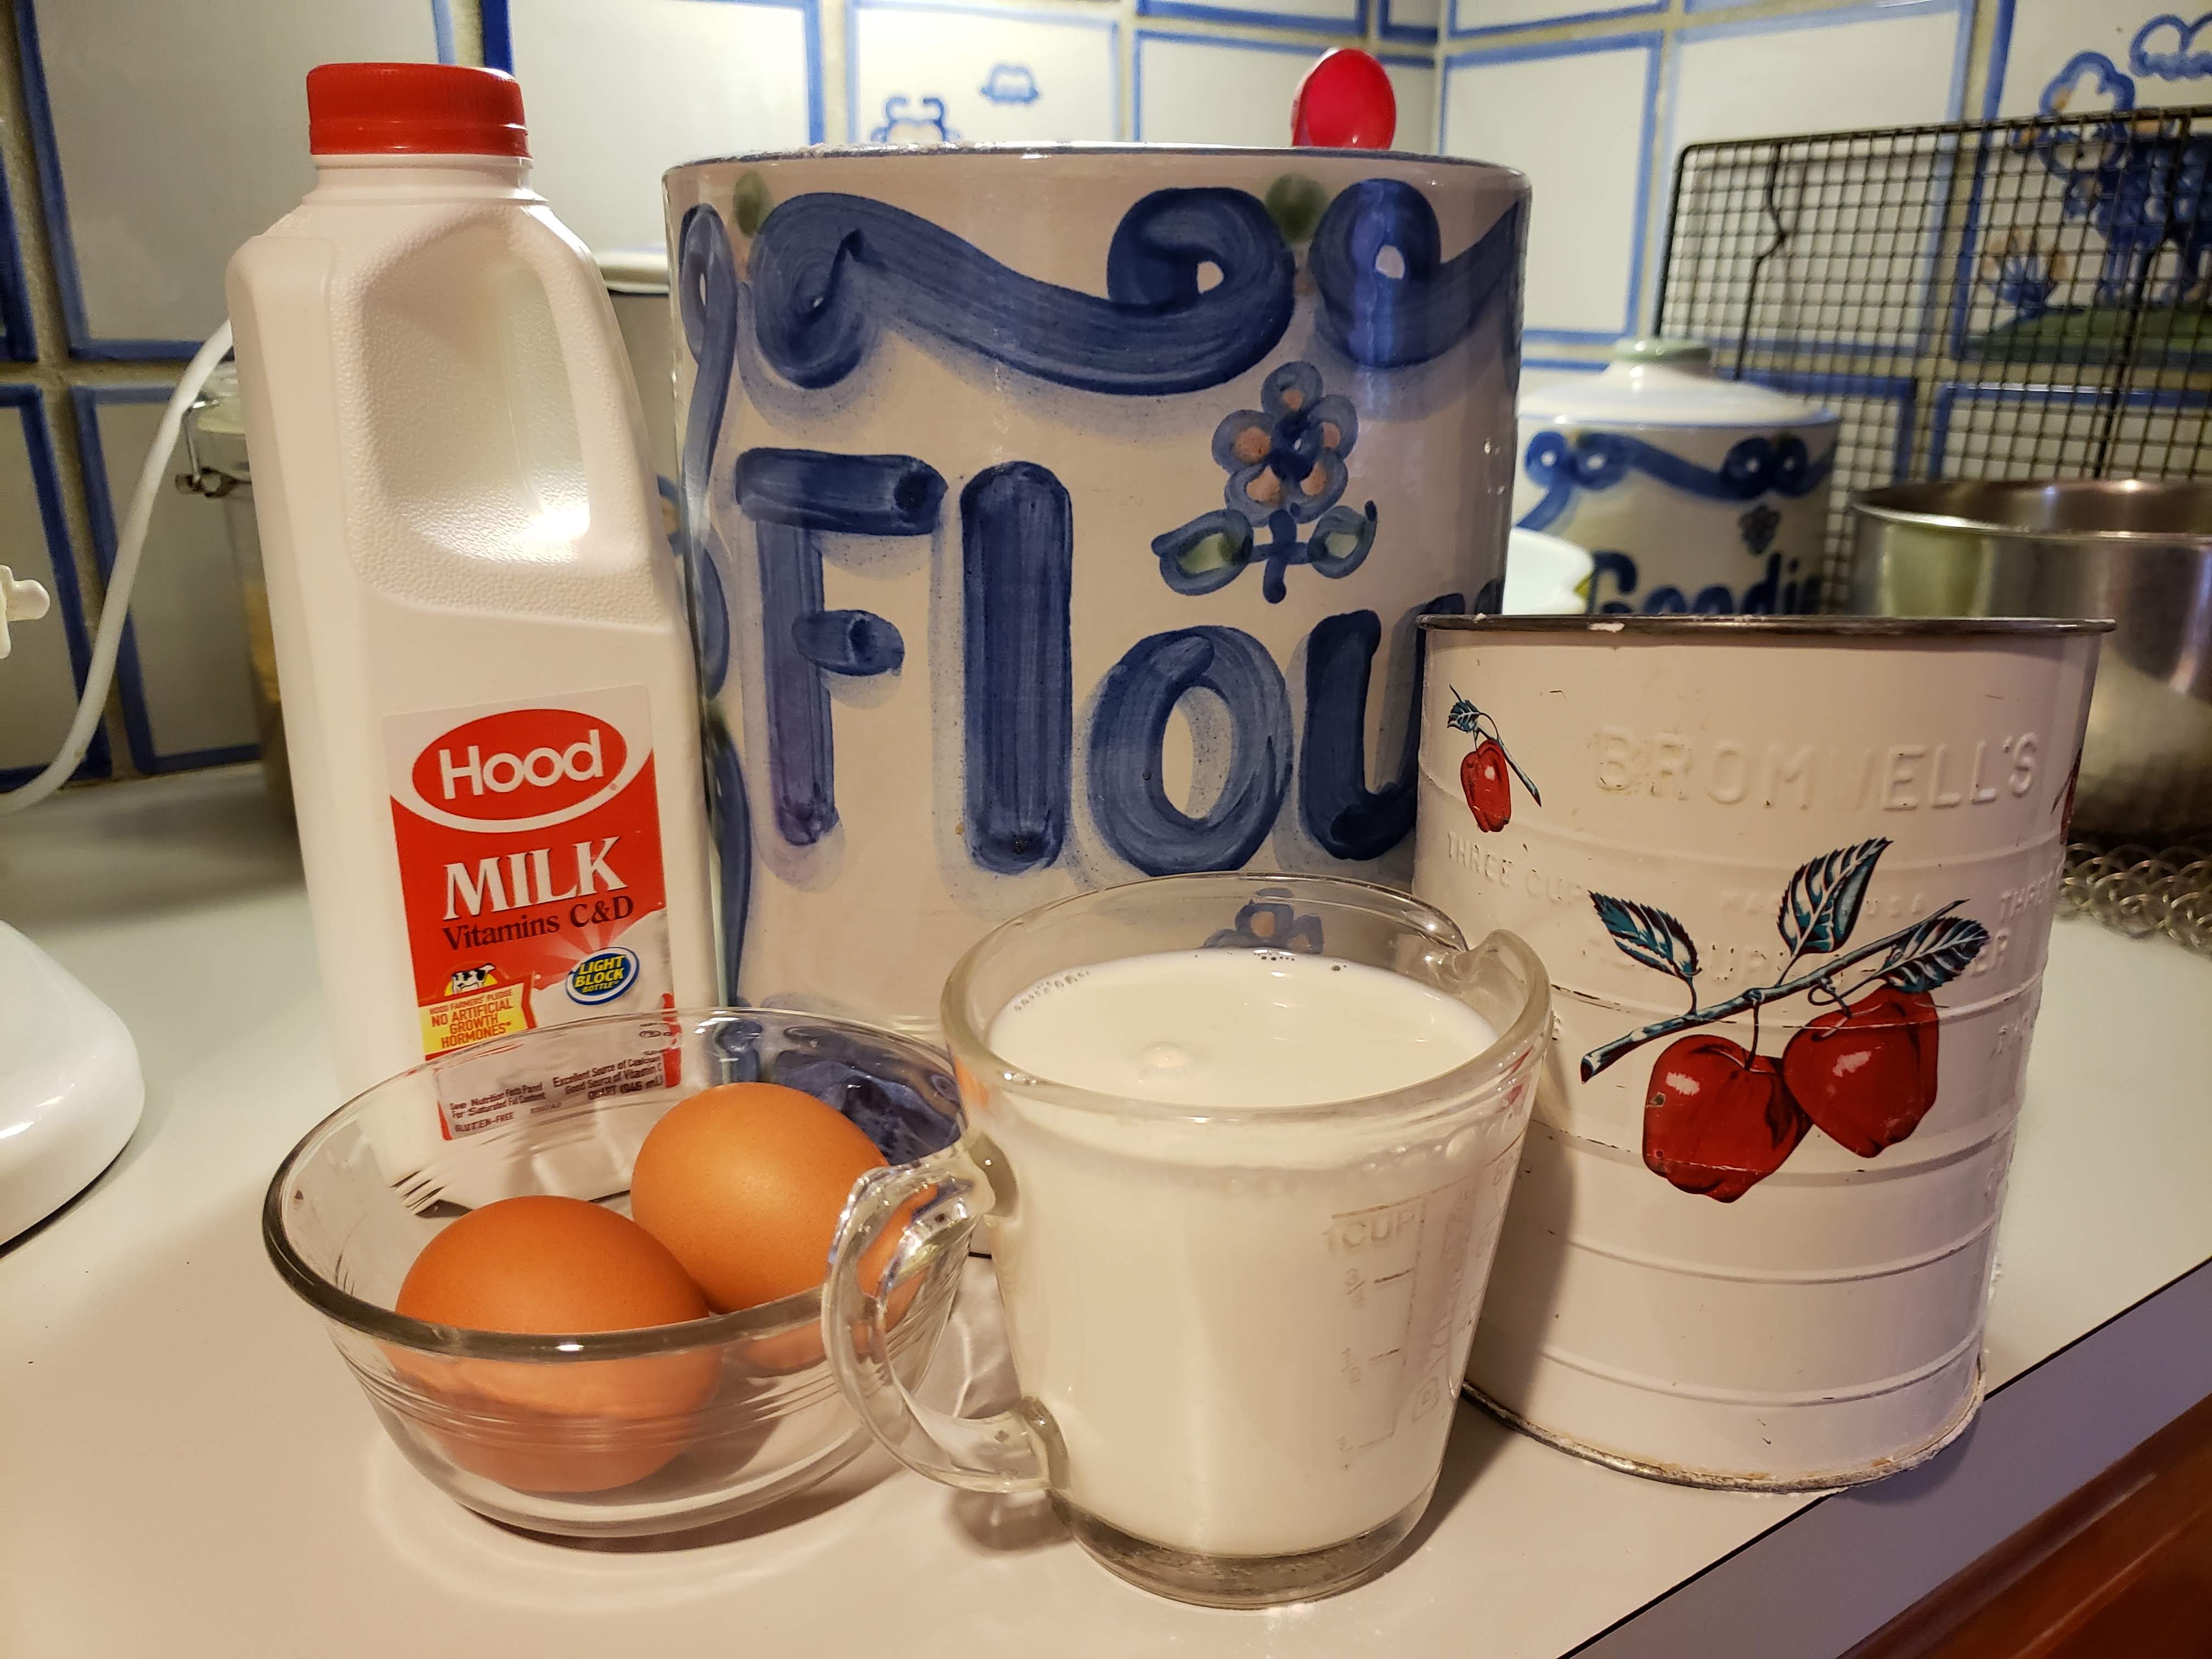
Popover ingredients
Popovers are so simple, they’re a great starter recipe for young bakers. Measure, mix, pour – that’s it. A grownup is only needed to handle the hot pans.
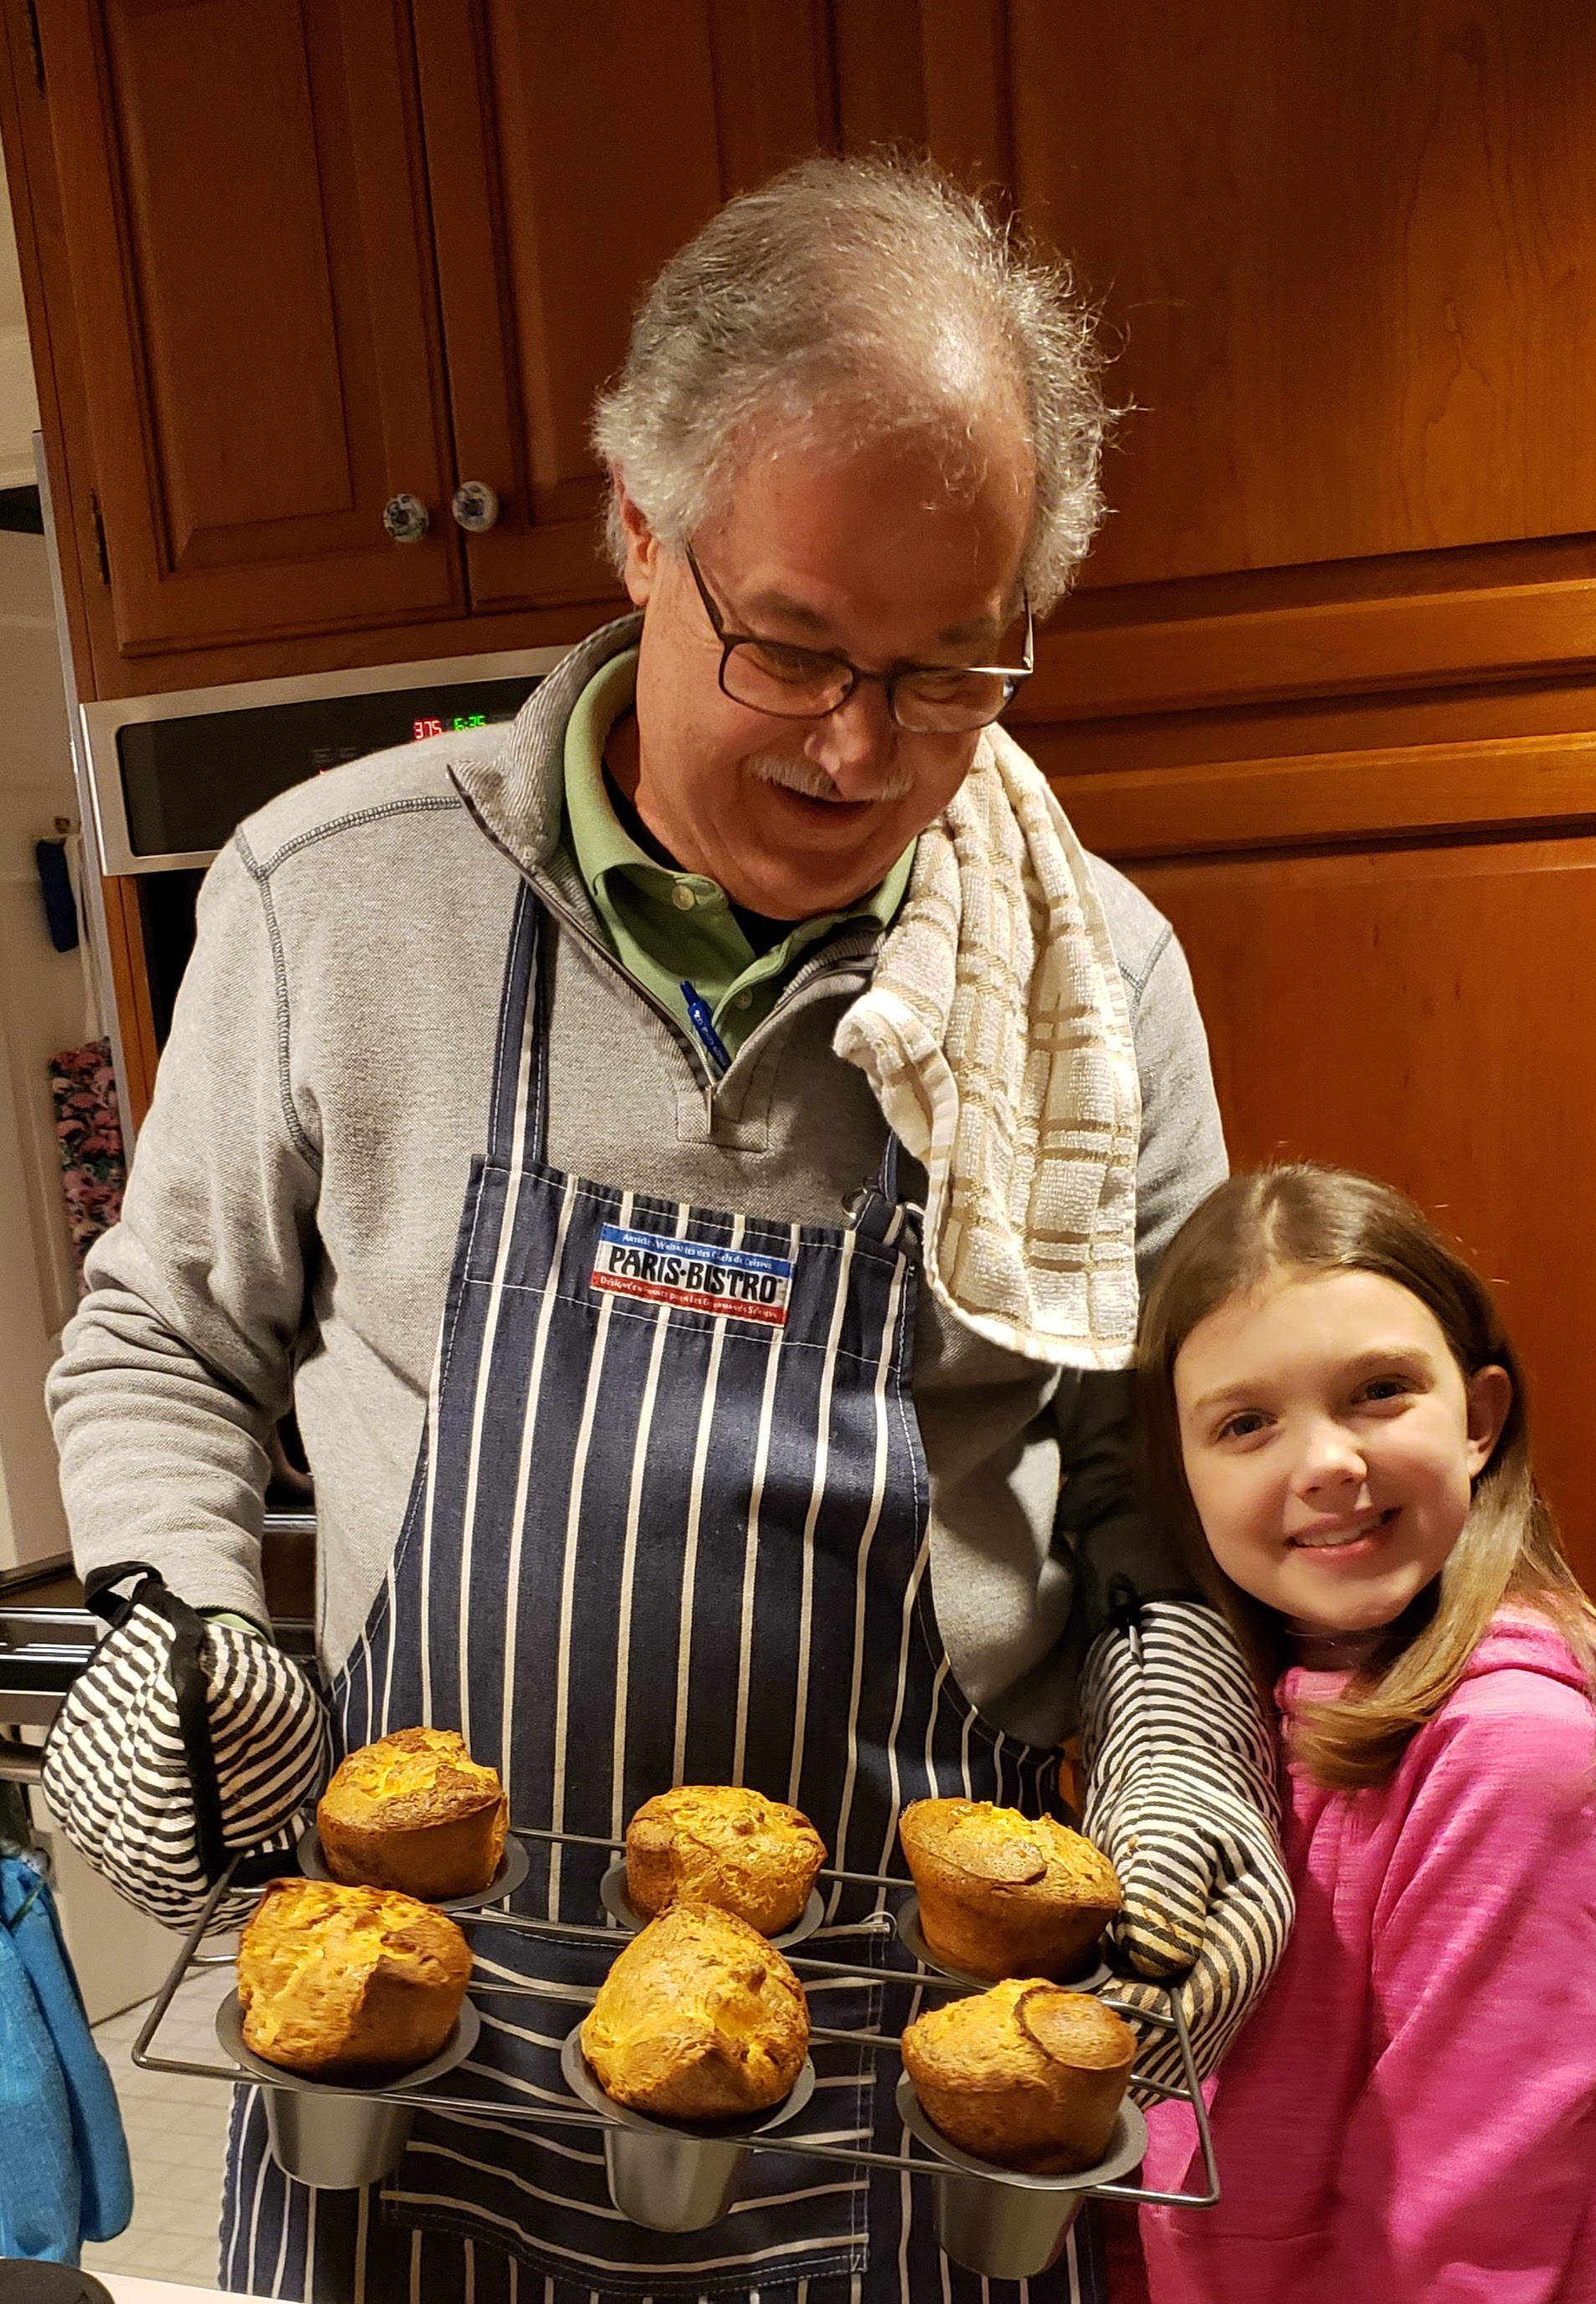
I put that theory to the test with our granddaughter Moira, age eight. There are only four components to the recipe: flour, salt, eggs, and milk. Moira measured the flour, carefully scraping the top of the cup level, and had her first experience sifting. She’s an old hand at egg cracking, and easily added the salt and poured out a cup of milk. After that, we took turns stirring vigorously. The batter should be smooth with no lumps.
Popovers can be made in a standard muffin tin, but the results are much more impressive if you spring for a special popover pan. The six cups, held together with a wire frame, are deeper with a conical shape and straighter sides that help the popover rise dramatically straight and tall. The wire frame allows the heat to swirl freely around each cup.
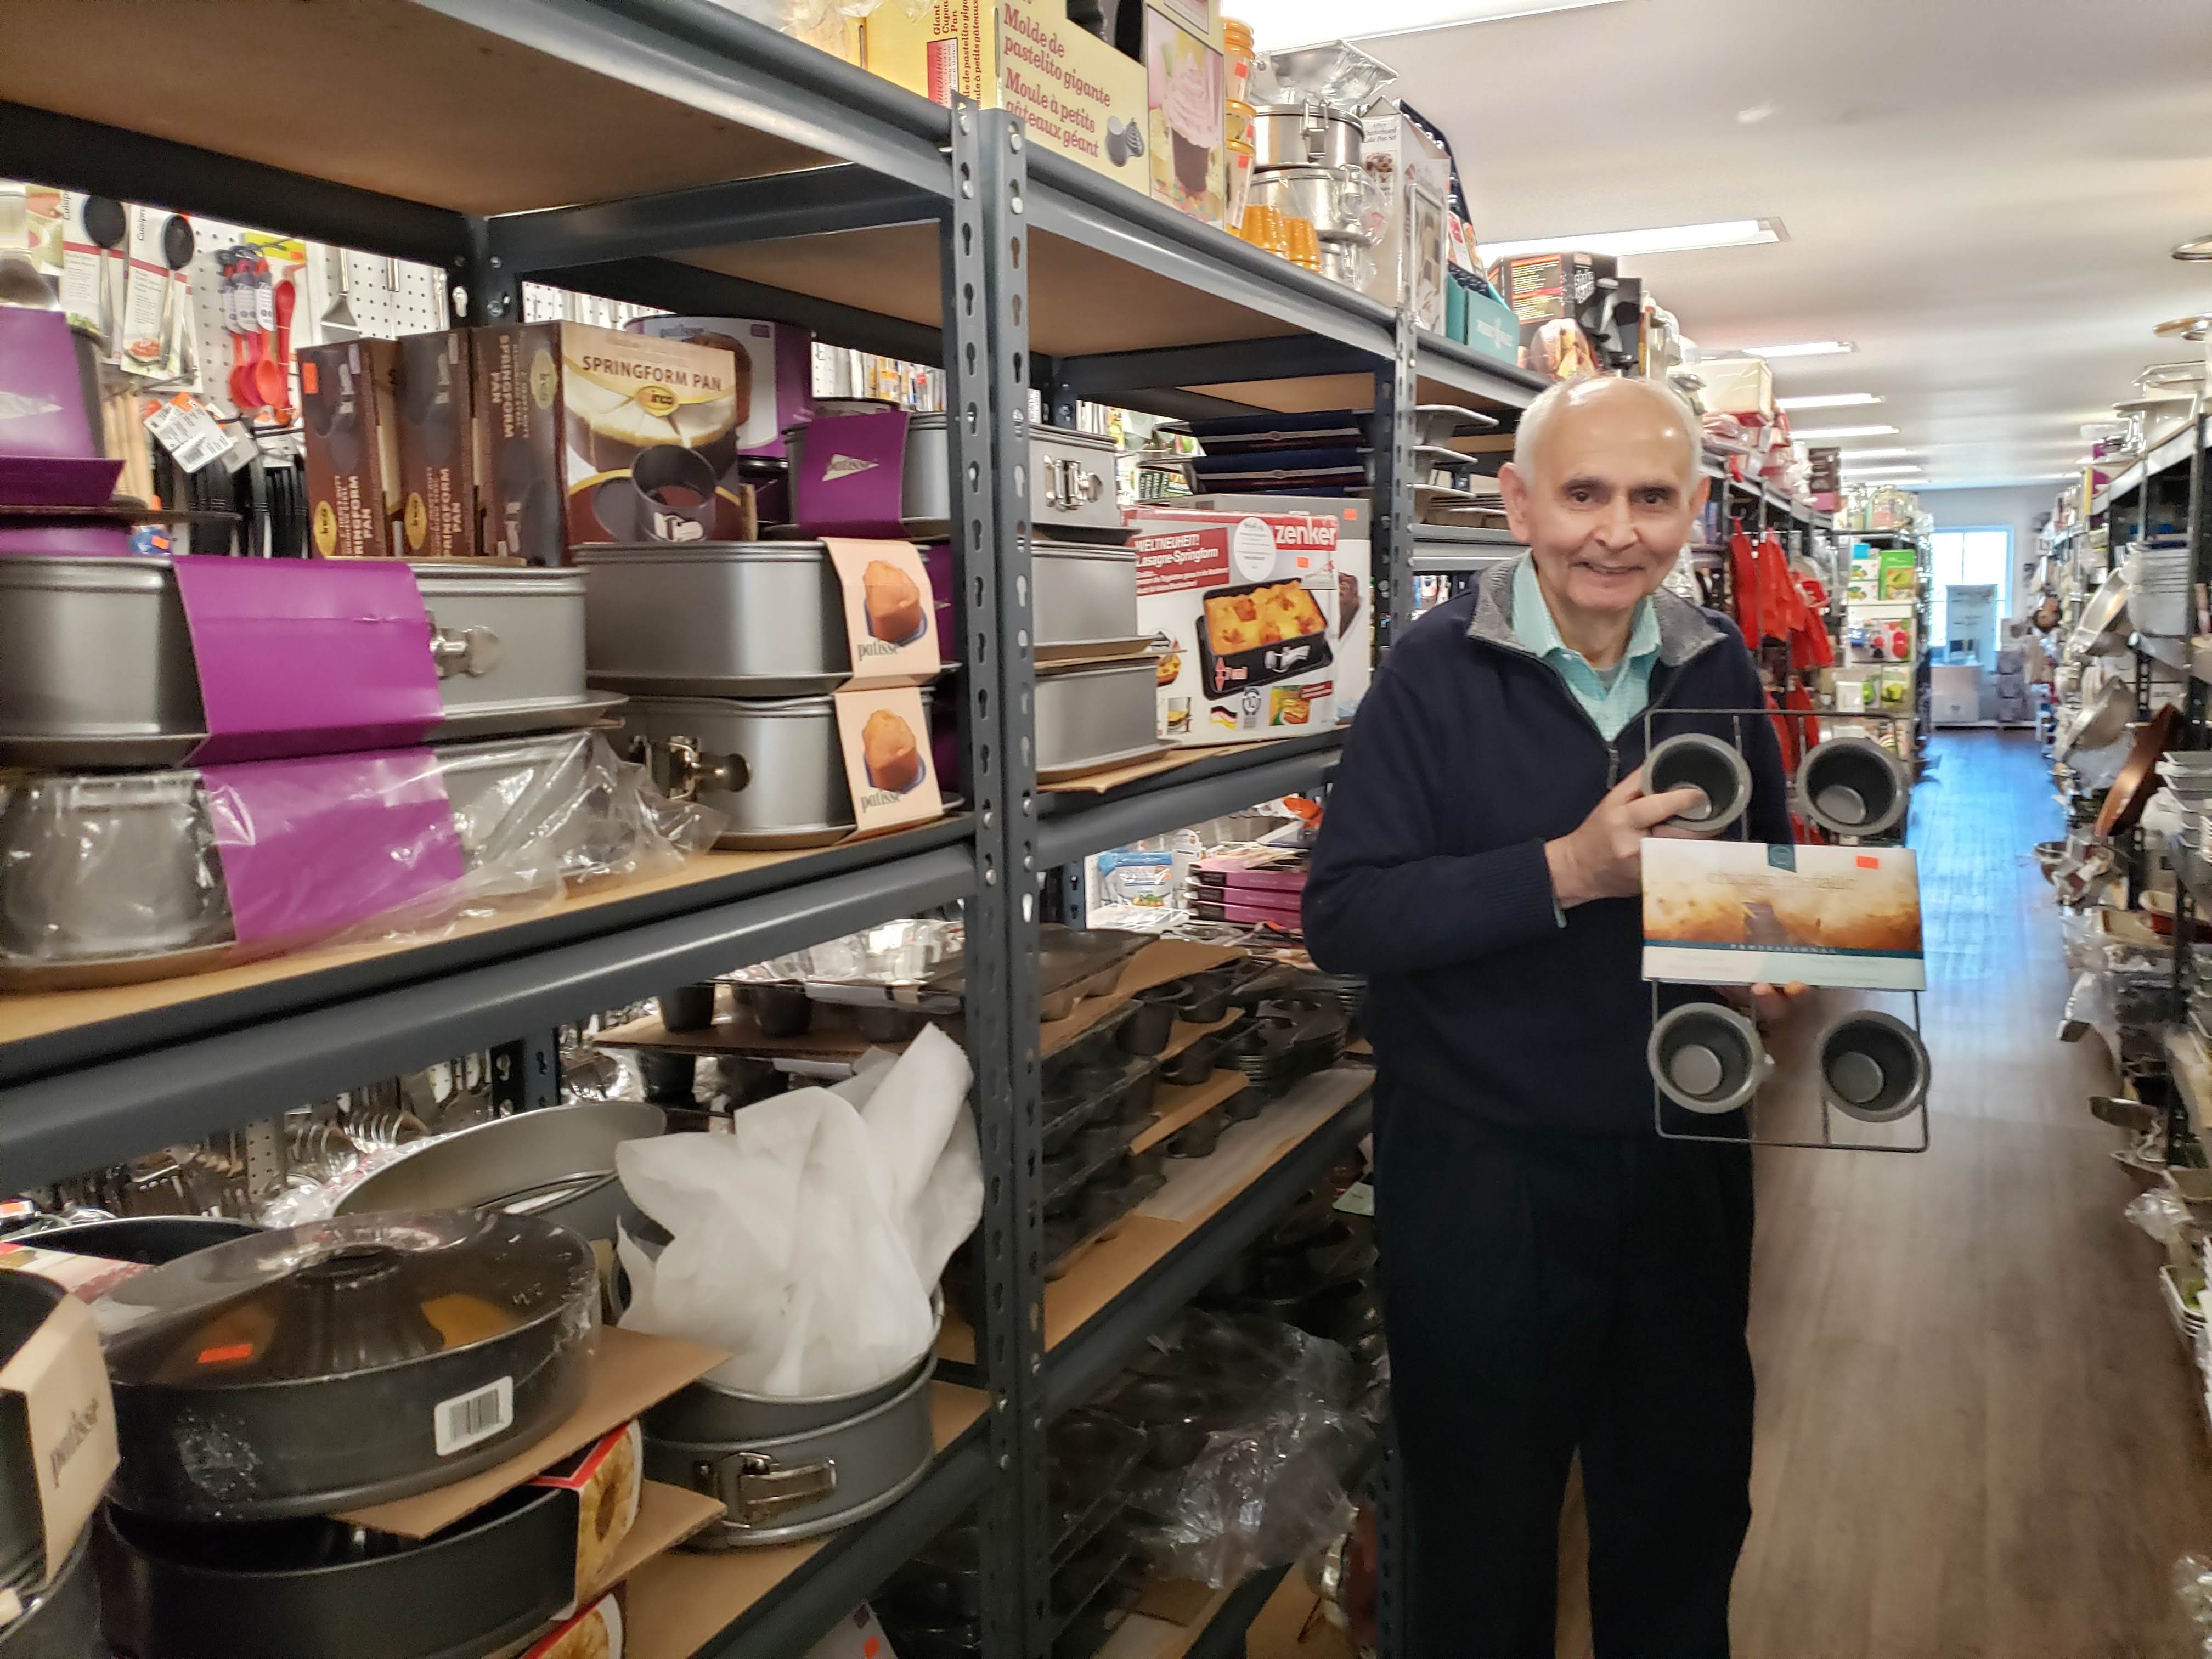
Gobind Dipchand of The Cooks Nook with our Popover pan
Moira and I visited the Cook’s Nook in Wilton in search of a popover pan. Our Chicago Metallic six cup model was well worth $19 to insure glamorous popovers. Non stick makes life a lot easier. Moira enjoyed exploring the narrow aisles packed with cooking gear. The store is a wonderland of just about any cooking equipment you might want, and some you never imagined you needed.
In addition to our popover pan, Moira had to have a unicorn cookie cutter. Unicorns are an everyday part of life at age eight.
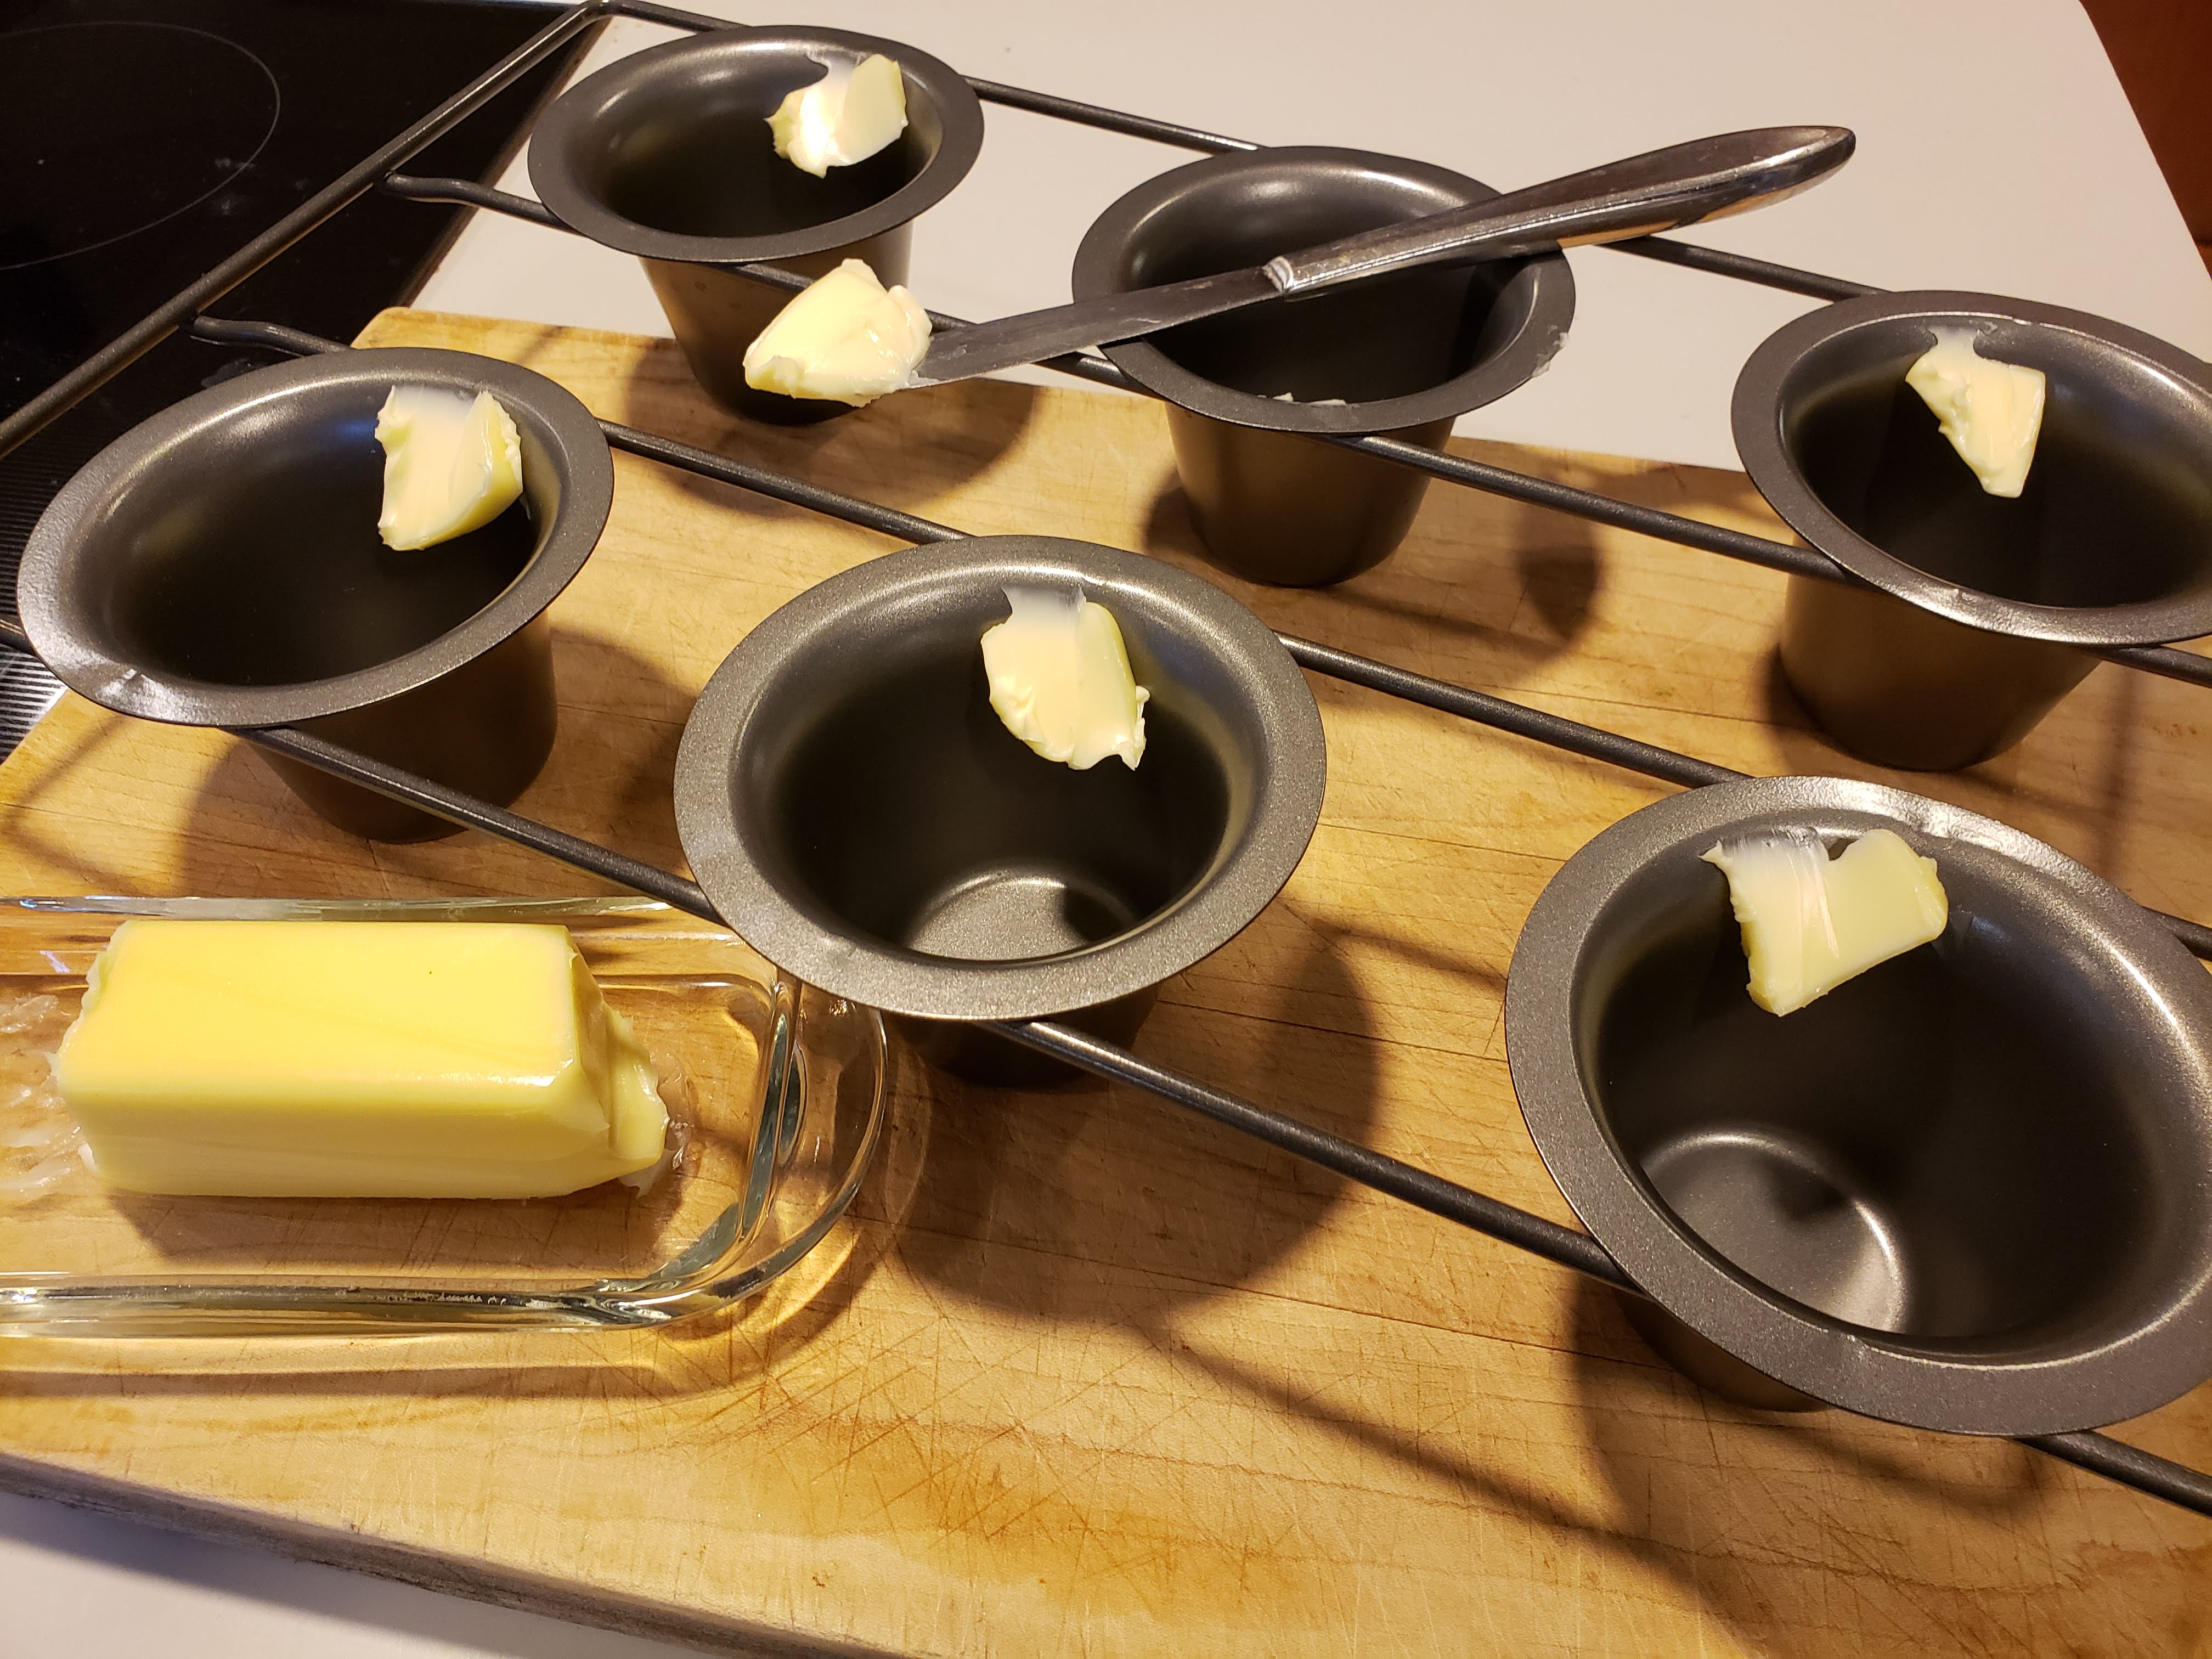 Popovers rise as the moisture in the batter turns to steam and expands. This requires a high temperature. Set the oven to 450° and make sure it’s well preheated. Then preheat the pan for five minutes with a dab of butter in each cup. The butter will brown, but that gives the final product a slightly nutty flavor.
This is the tricky part. Fill each cup of the now very hot pan half full with the batter. We used a pitcher to pour it in. This is the grownup part of the job. Bake for 20 minutes, reduce the heat and cook for another 20. DON’T OPEN THE OVEN DOOR. Get ready for the oohs and aahs.
 Break the crusty, hot popover open and watch the steam rise. A pat of butter will quickly melt in the hollow interior of the warm popover. I like to add a spoonful of jam or a drizzle of honey. Popovers are great at teatime or with dinner.
Yorkshire pudding is the close cousin of the popover. It’s essentially the same recipe except that the pan is prepared with rendered beef fat instead of butter. These very English puddings are traditionally served with roast beef, but you don’t often see them these days.
 Making popovers is an excellent opportunity to engage kids in the kitchen. Baking can be a lifelong activity with all levels of challenge and skill – one of the few with a delicious result. If you’re lucky your protegé will become a regular baker. If not, be sure to enjoy the pleasure yourself. The popovers are their own reward.


Frank, another great article. I am now planning a trip to the Cook’s Nook. I hope the wedding is as fun as our popover night was. Thank you so much.
p.s. Moira is still cute!