


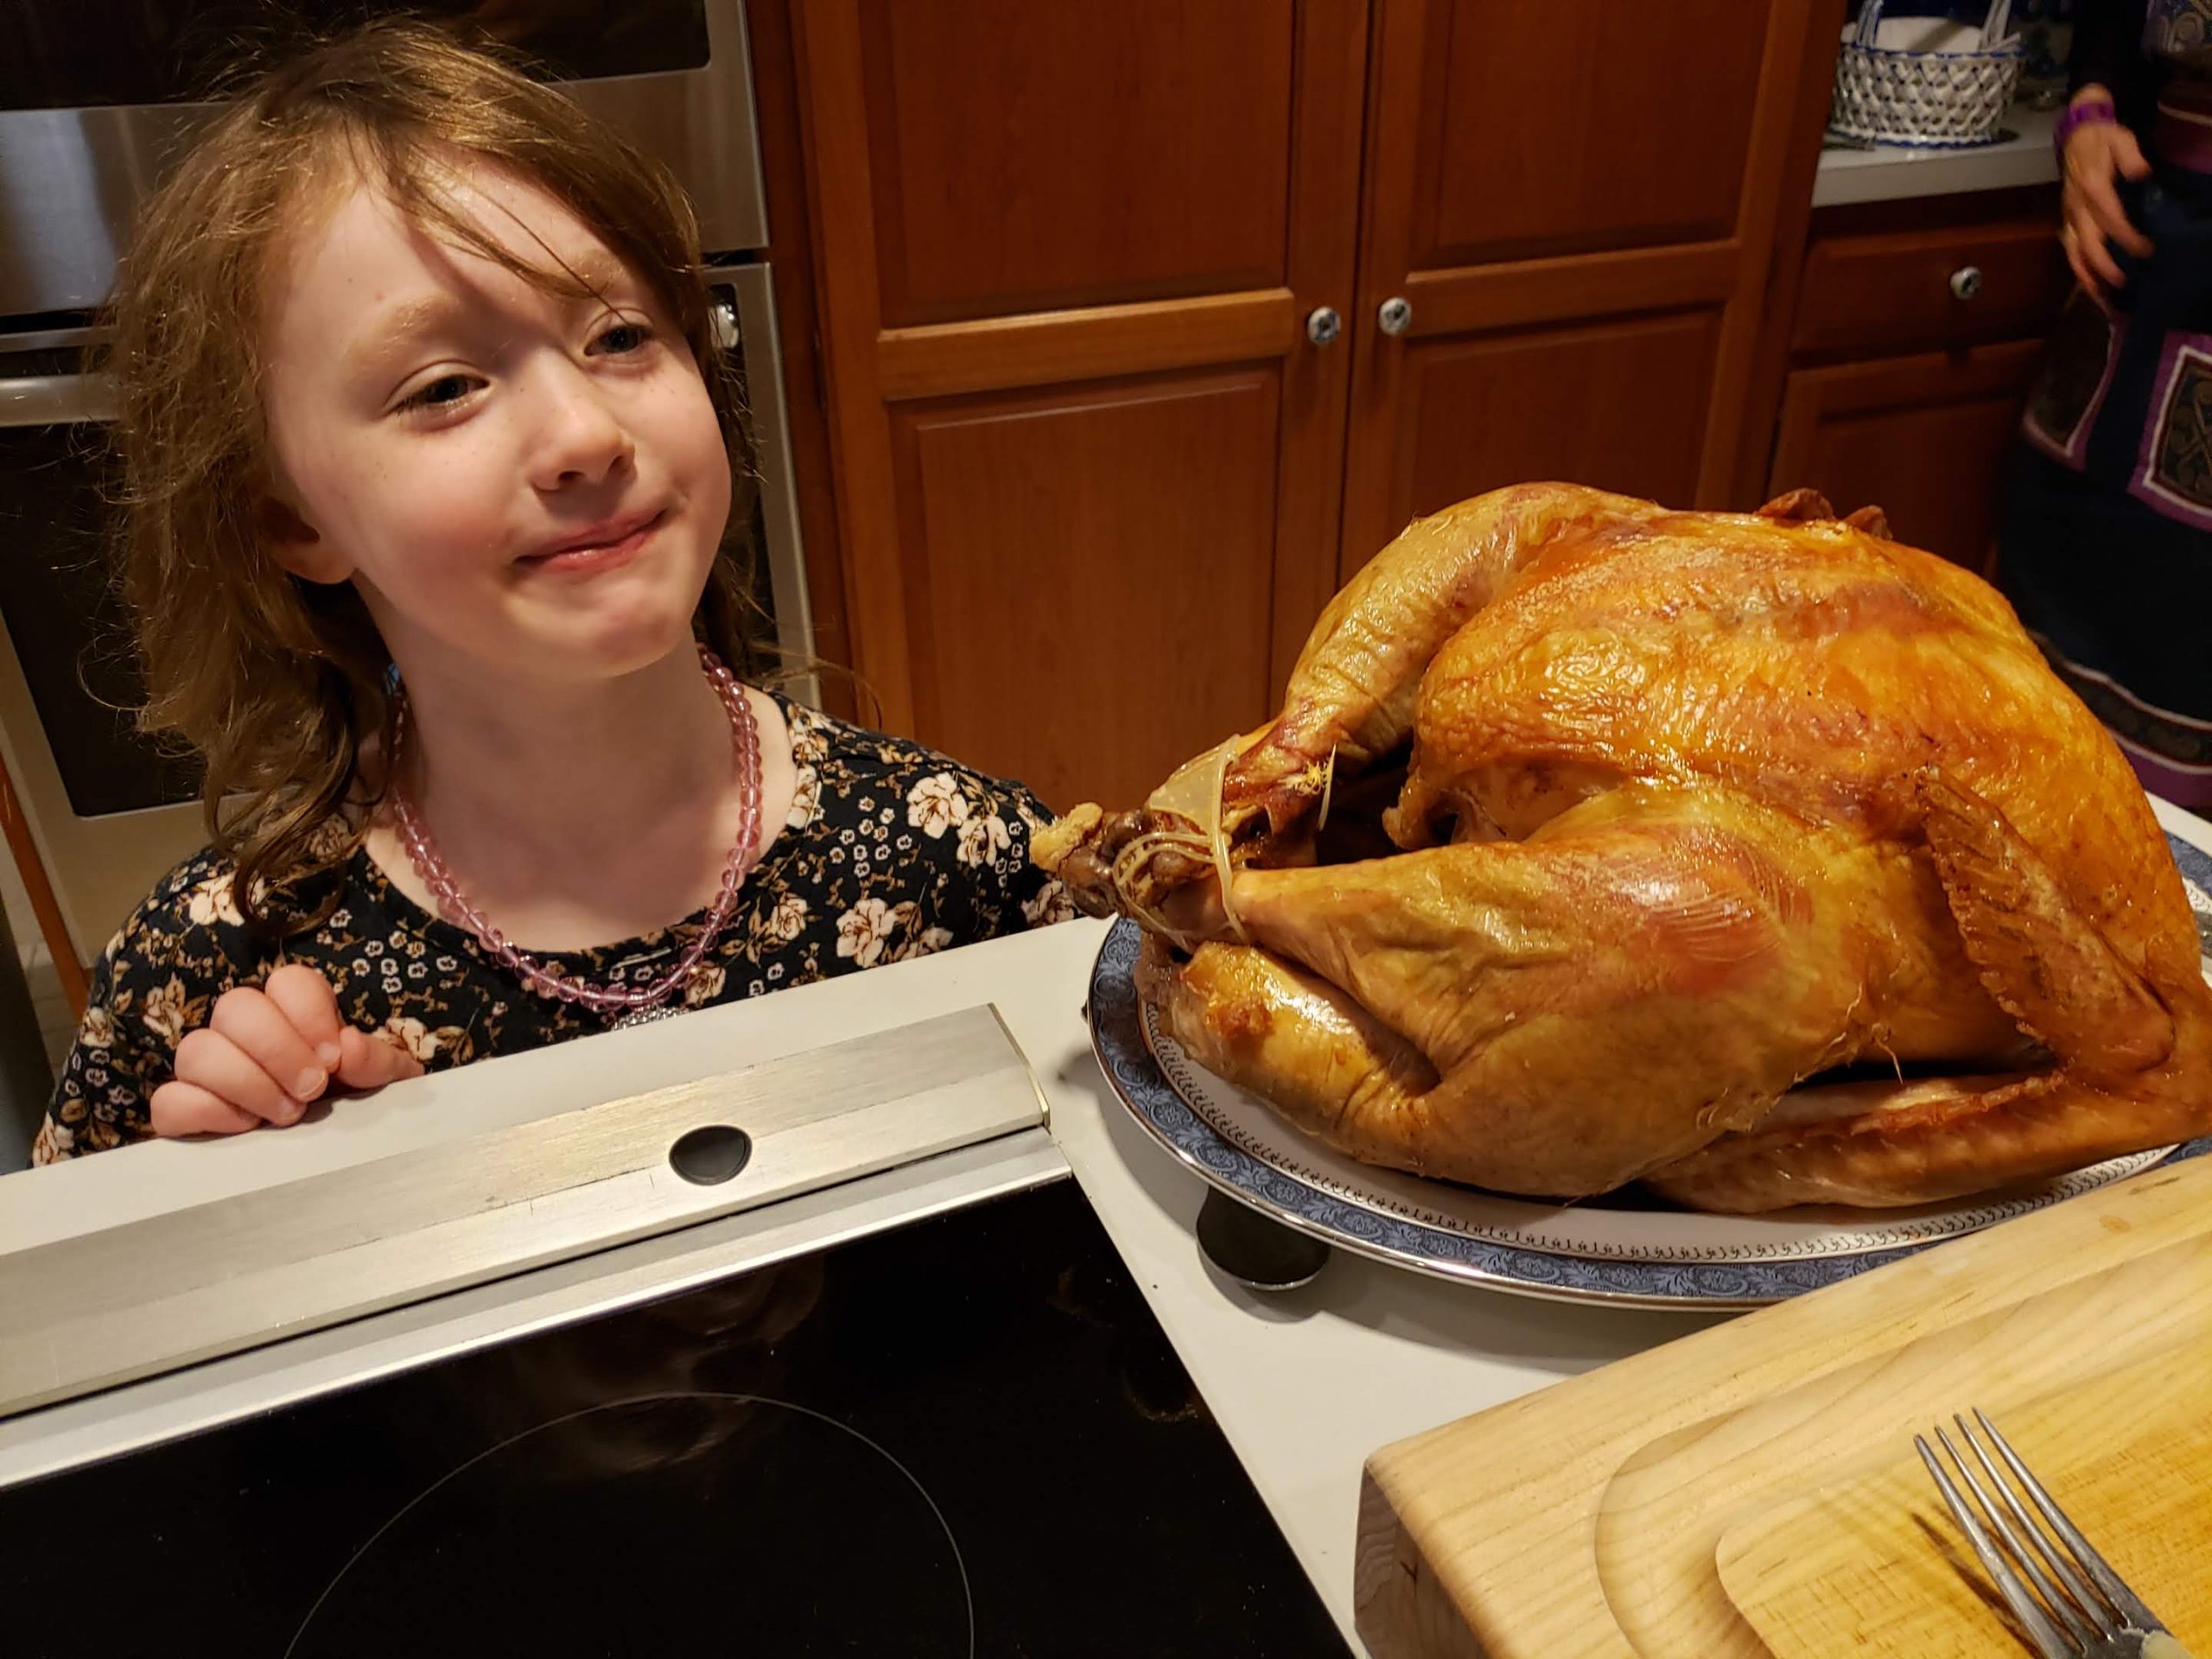

Practice Chicken
The generously-large bird, emerging from the oven a glorious golden brown as the centerpiece of Thanksgiving dinner, is the result of hours of preparation.
Carefully chosen – either an heirloom breed from a small farm, or plucked from the Butterball bin – considerable hope for success rides on the passive bird. Cooked according to family rituals or the instructions on the package, it’s ready for an memorable eating experience.
But now comes the hard part: carving the bird.
Gallons of ink and billions of pixels have been employed to help with the cooking, but there is precious little information on this most difficult task. No thermometer or plastic pop-out will tell you when the
Separate the thigh
time is right. There’s no dotted line that says, “cut here.” We’re on our own.
Carving the turkey gets easier and carvers get better with experience, but who carves more than one or two turkeys a year? It’s the amateur hour at every table on this important food holiday. No pressure, but there’s usually an audience to watch and kibbitz.
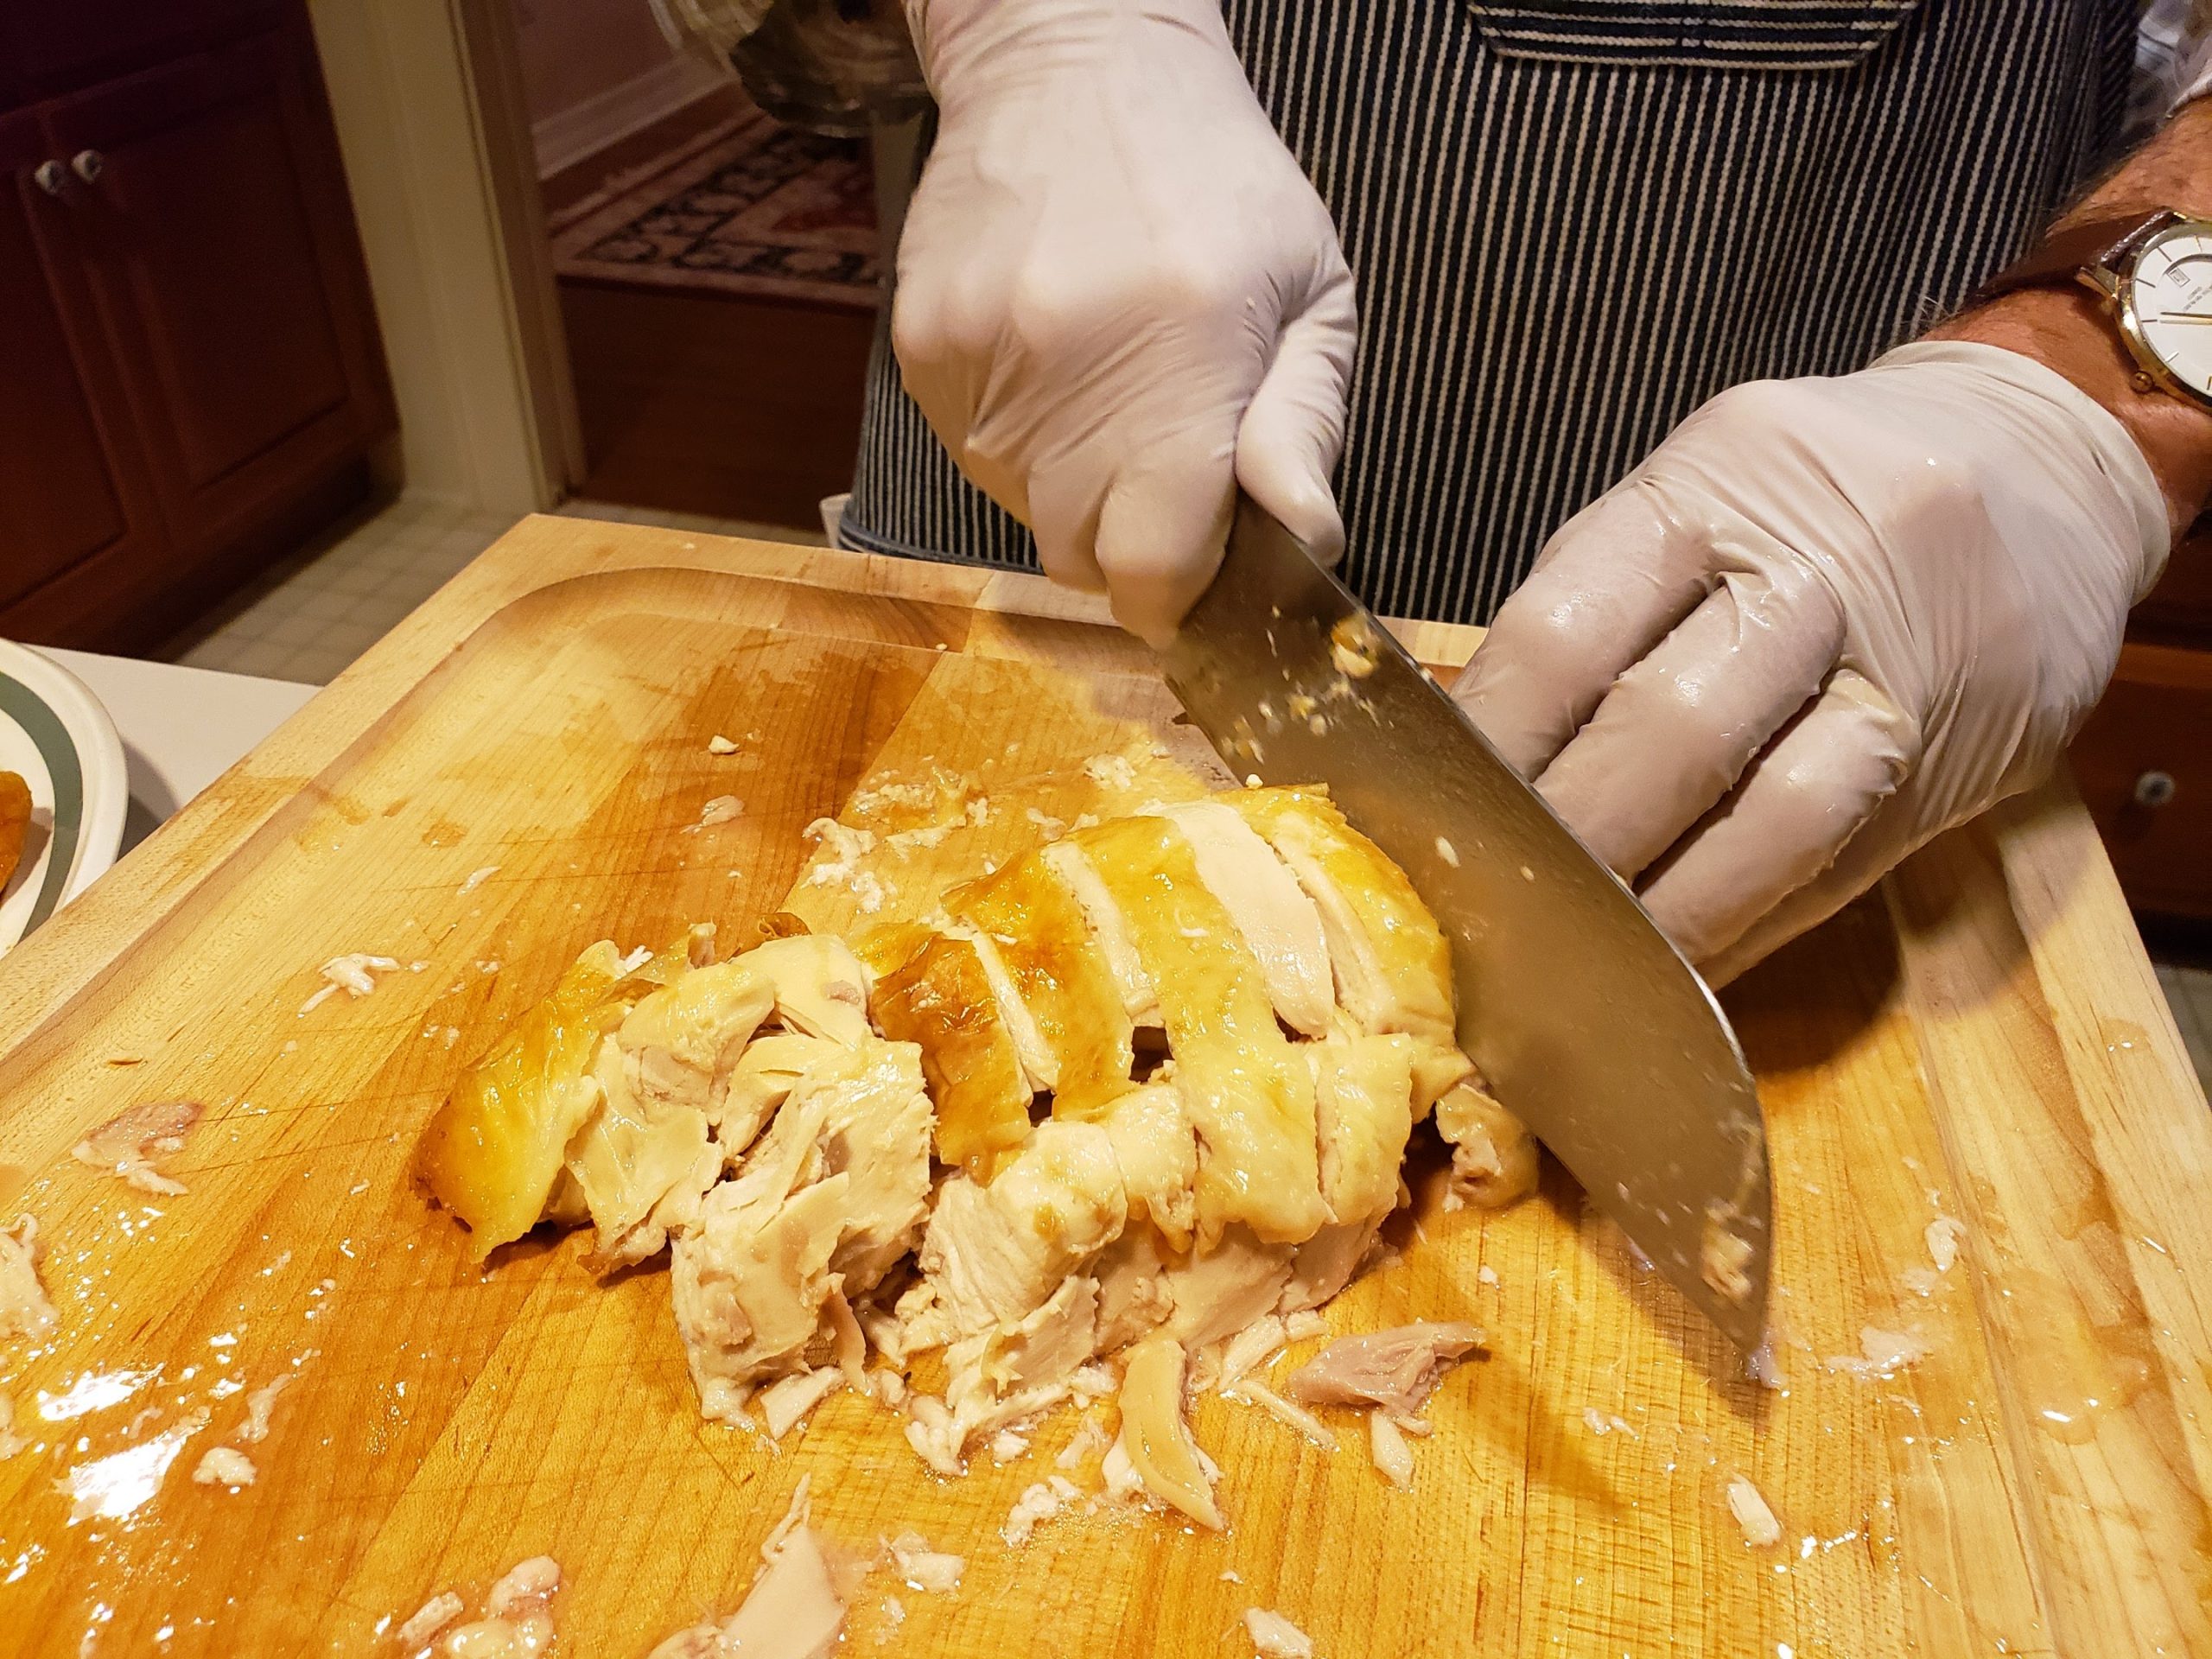
To hone my skills, I carved an oven-stuffer-roaster chicken as a warmup.
Tools are important. It’s best to have a chef’s knife for slicing the meat and a shorter one with a pointed end for breaking the joints. Sharp knives make the job a lot easier and will slice through that beautiful crisp skin rather than tearing it. Take your old favorites to Edgewise
Break the joint
Kitchen for sharpening or spring for a new set. It’s Thanksgiving after all.
A cutting board with a trench around the edge and smooth center will collect the juices and give a flat surface for cutting.
After its long and tiring journey from package to oven to carving board, the turkey needs a rest. During its nap, the meat will firm up as it absorbs the cooking juices. A slightly cooler bird will be easier to handle. Any juices that seep out during the snooze will fortify the gravy.
I like to wear some disposable kitchen gloves. They make it easier to handle the bird and can be quickly stripped off leaving clean hands for emergencies like re-tying loose apron strings.
Cut the breast along the keel bone
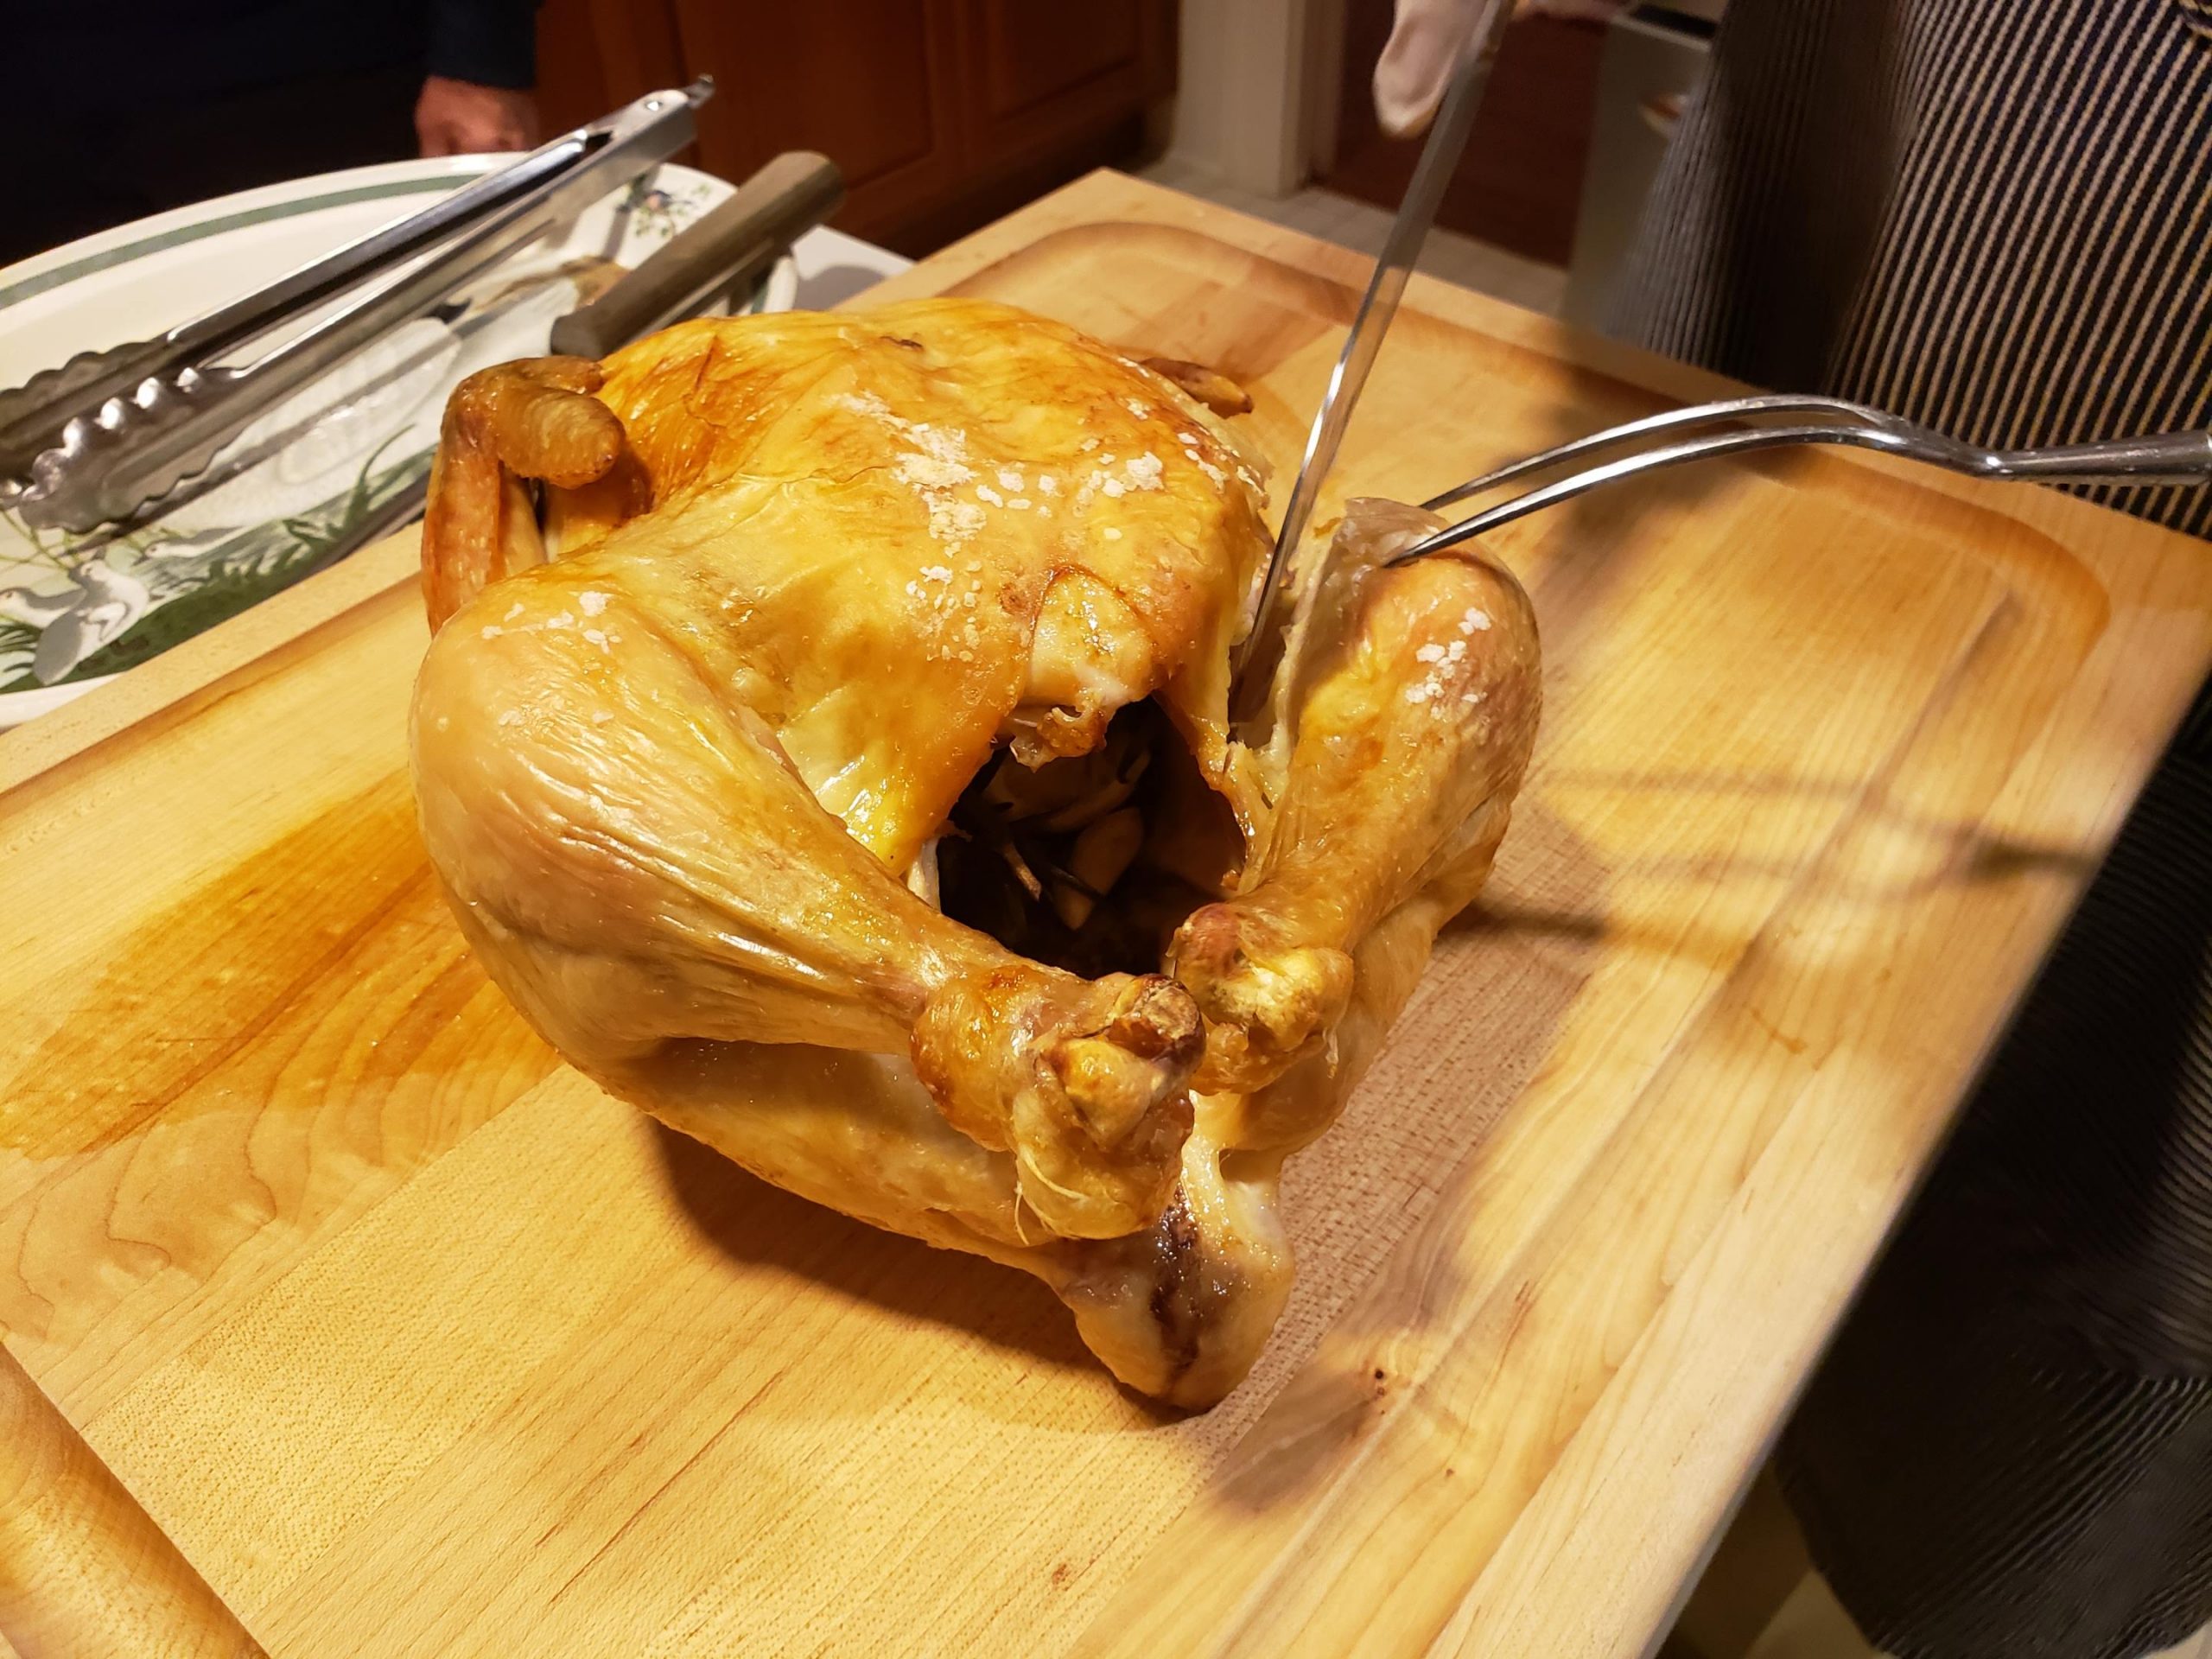
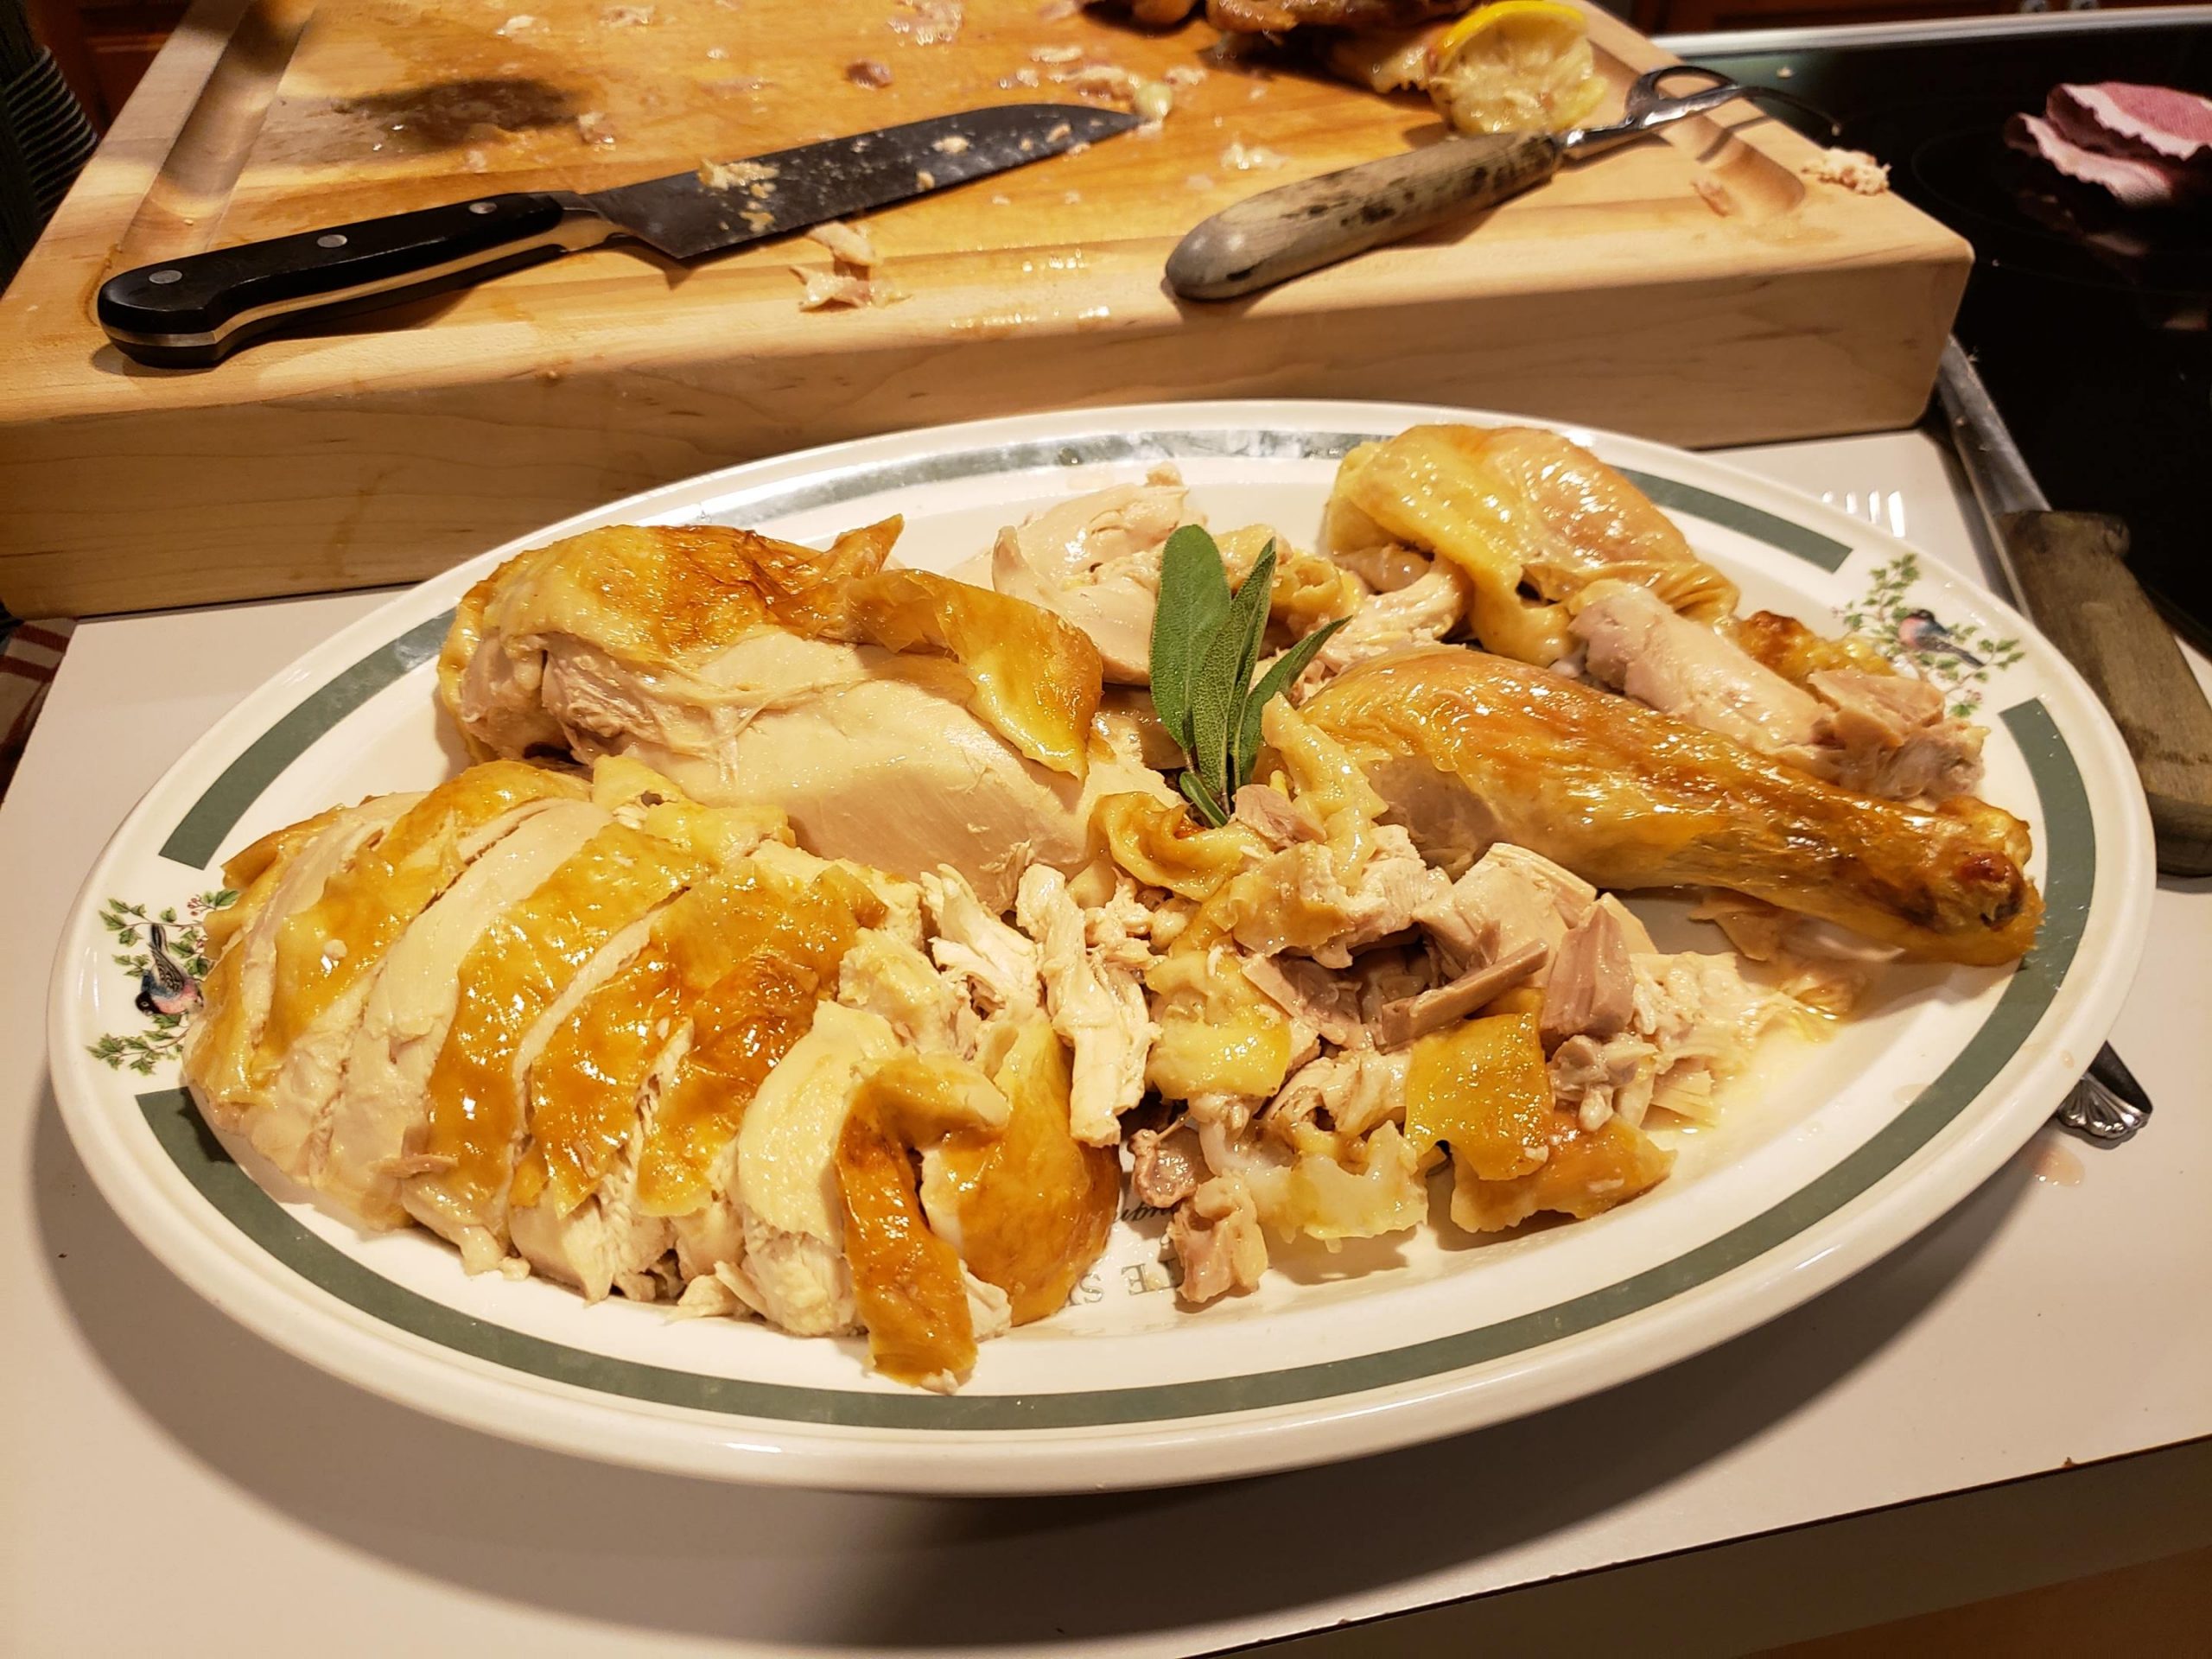
With the breast up, the first step is to remove the leg and thigh. Cut the skin between the breast and the dark meat. Pulling the thigh down toward the board as you cut it free will expose the joint. With your fingers under the joint, pull the thigh down and push up on the joint. It will pop open. With the point of the knife, cut the thigh free and set it aside. Do the same on the other side.
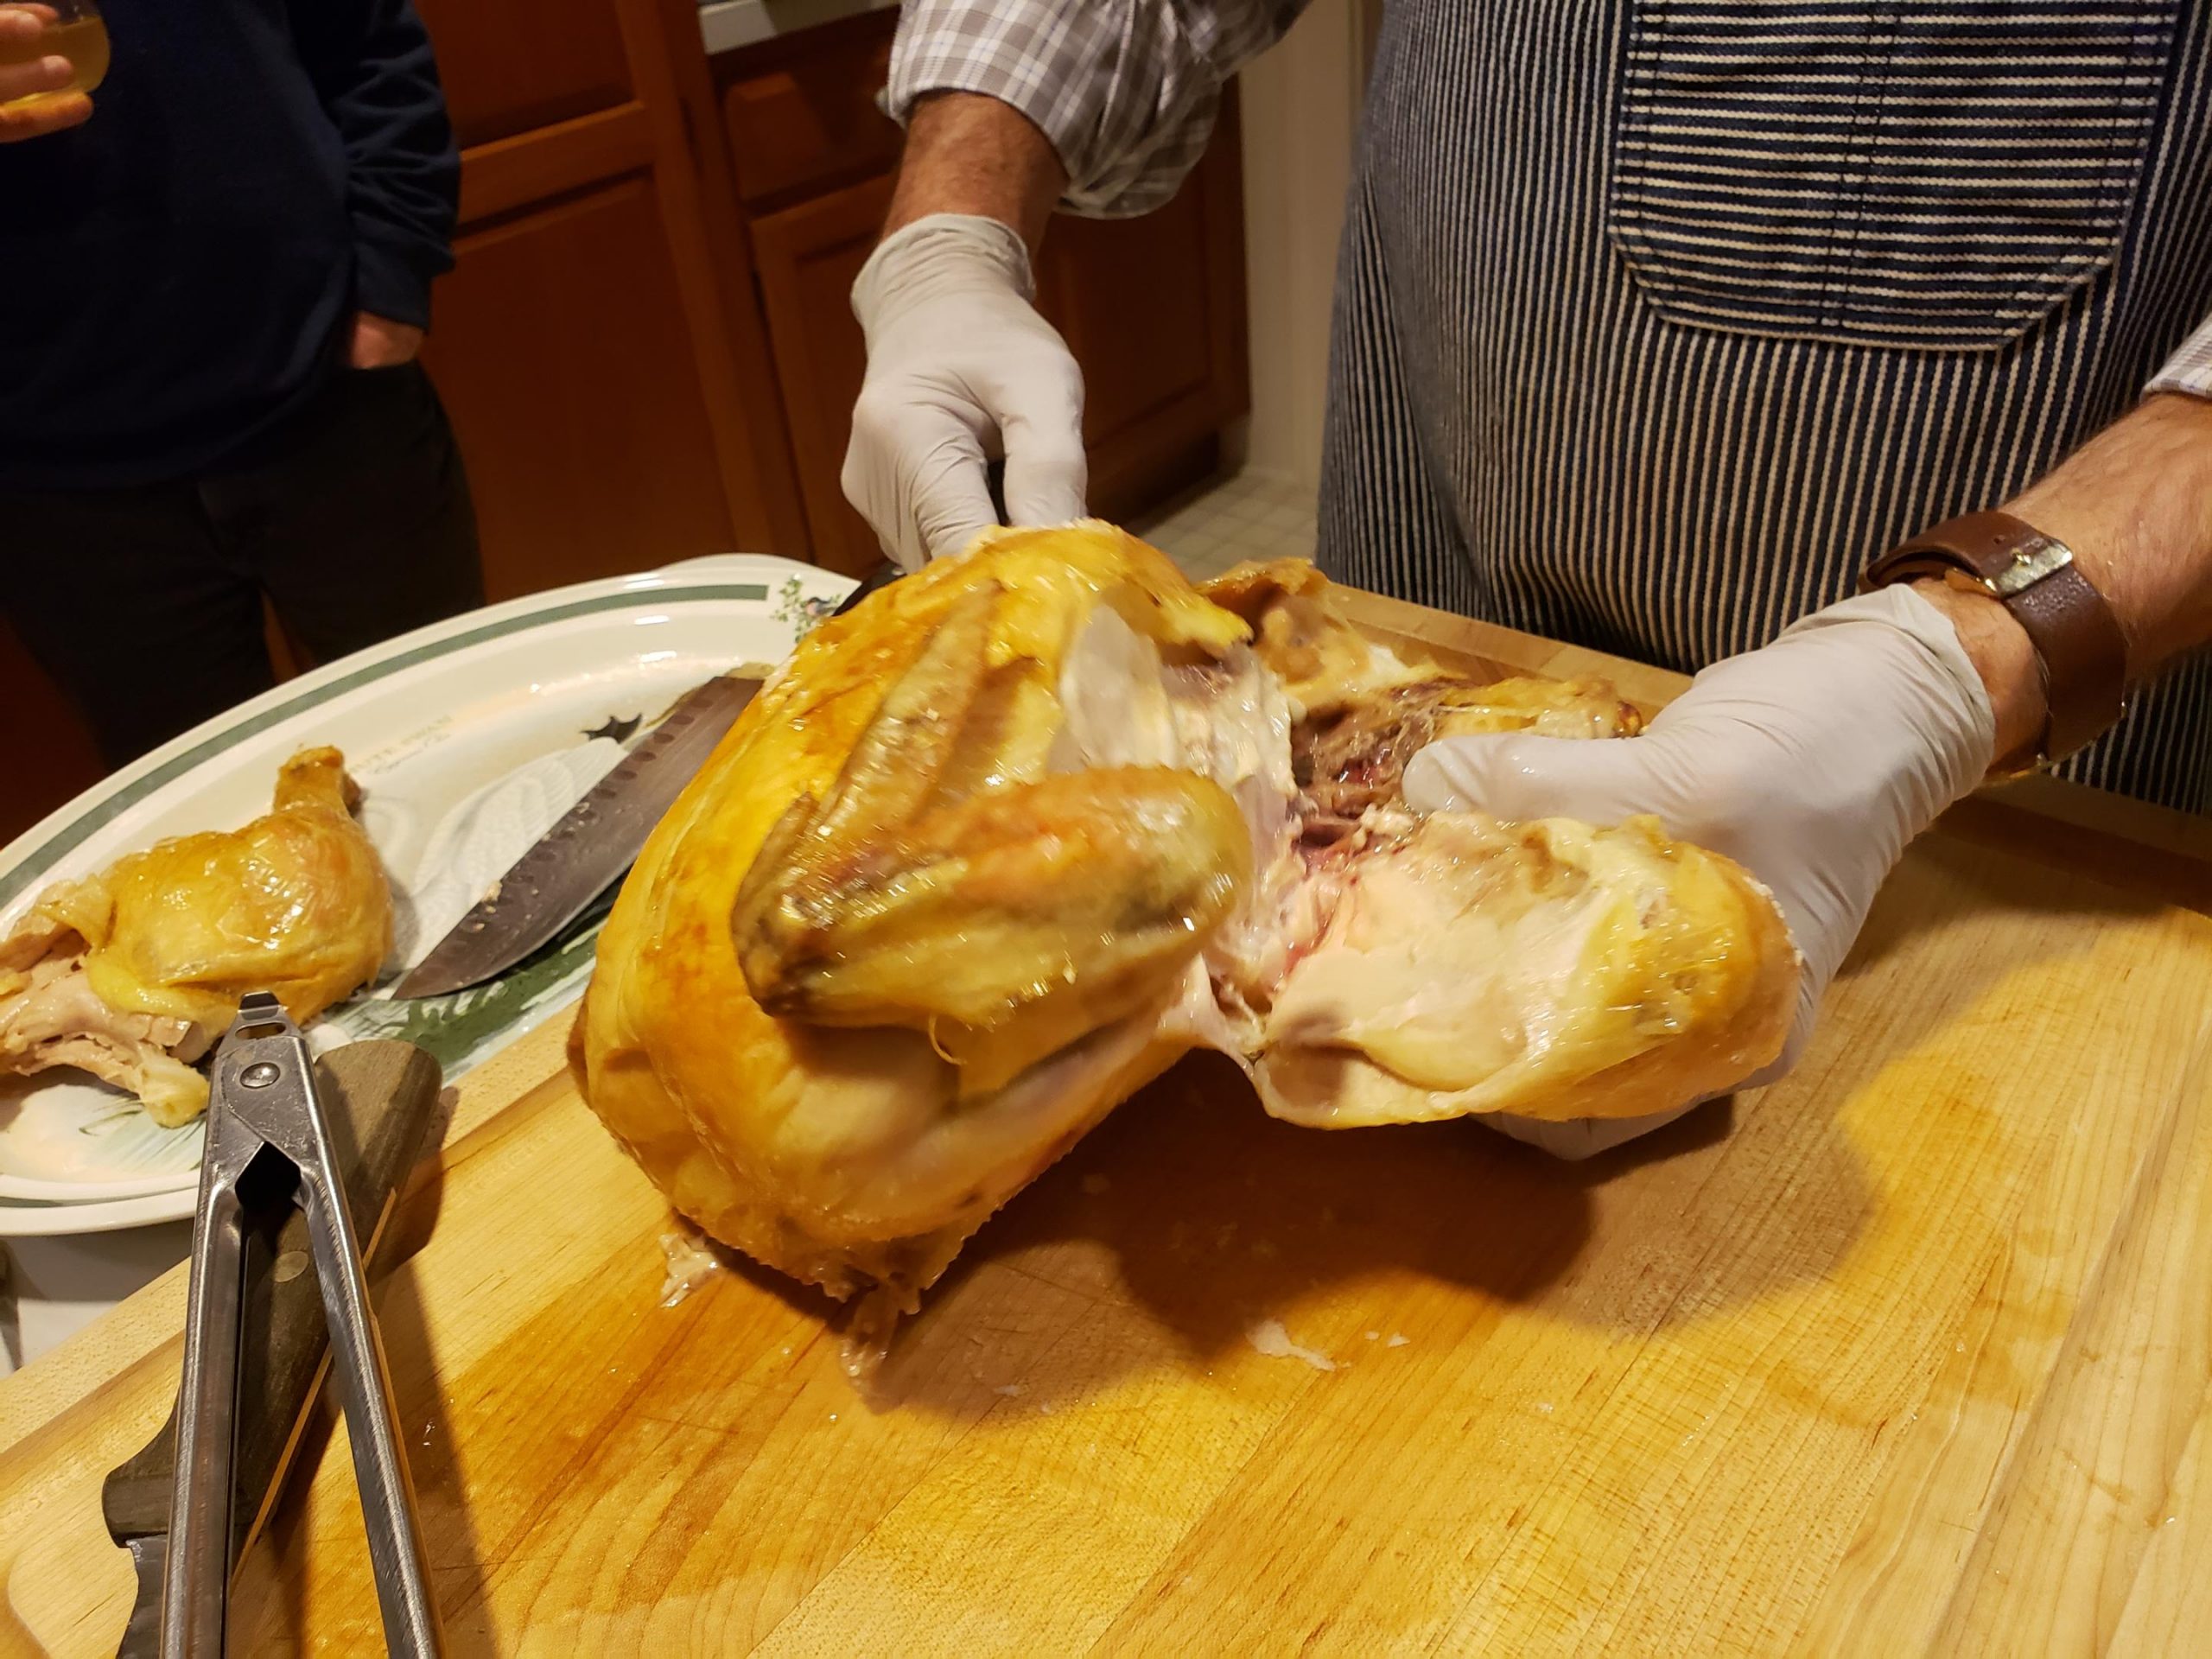
I used to cut the wings off at this point but have learned that leaving them on helps to stabilize the bird for cutting off the breast.
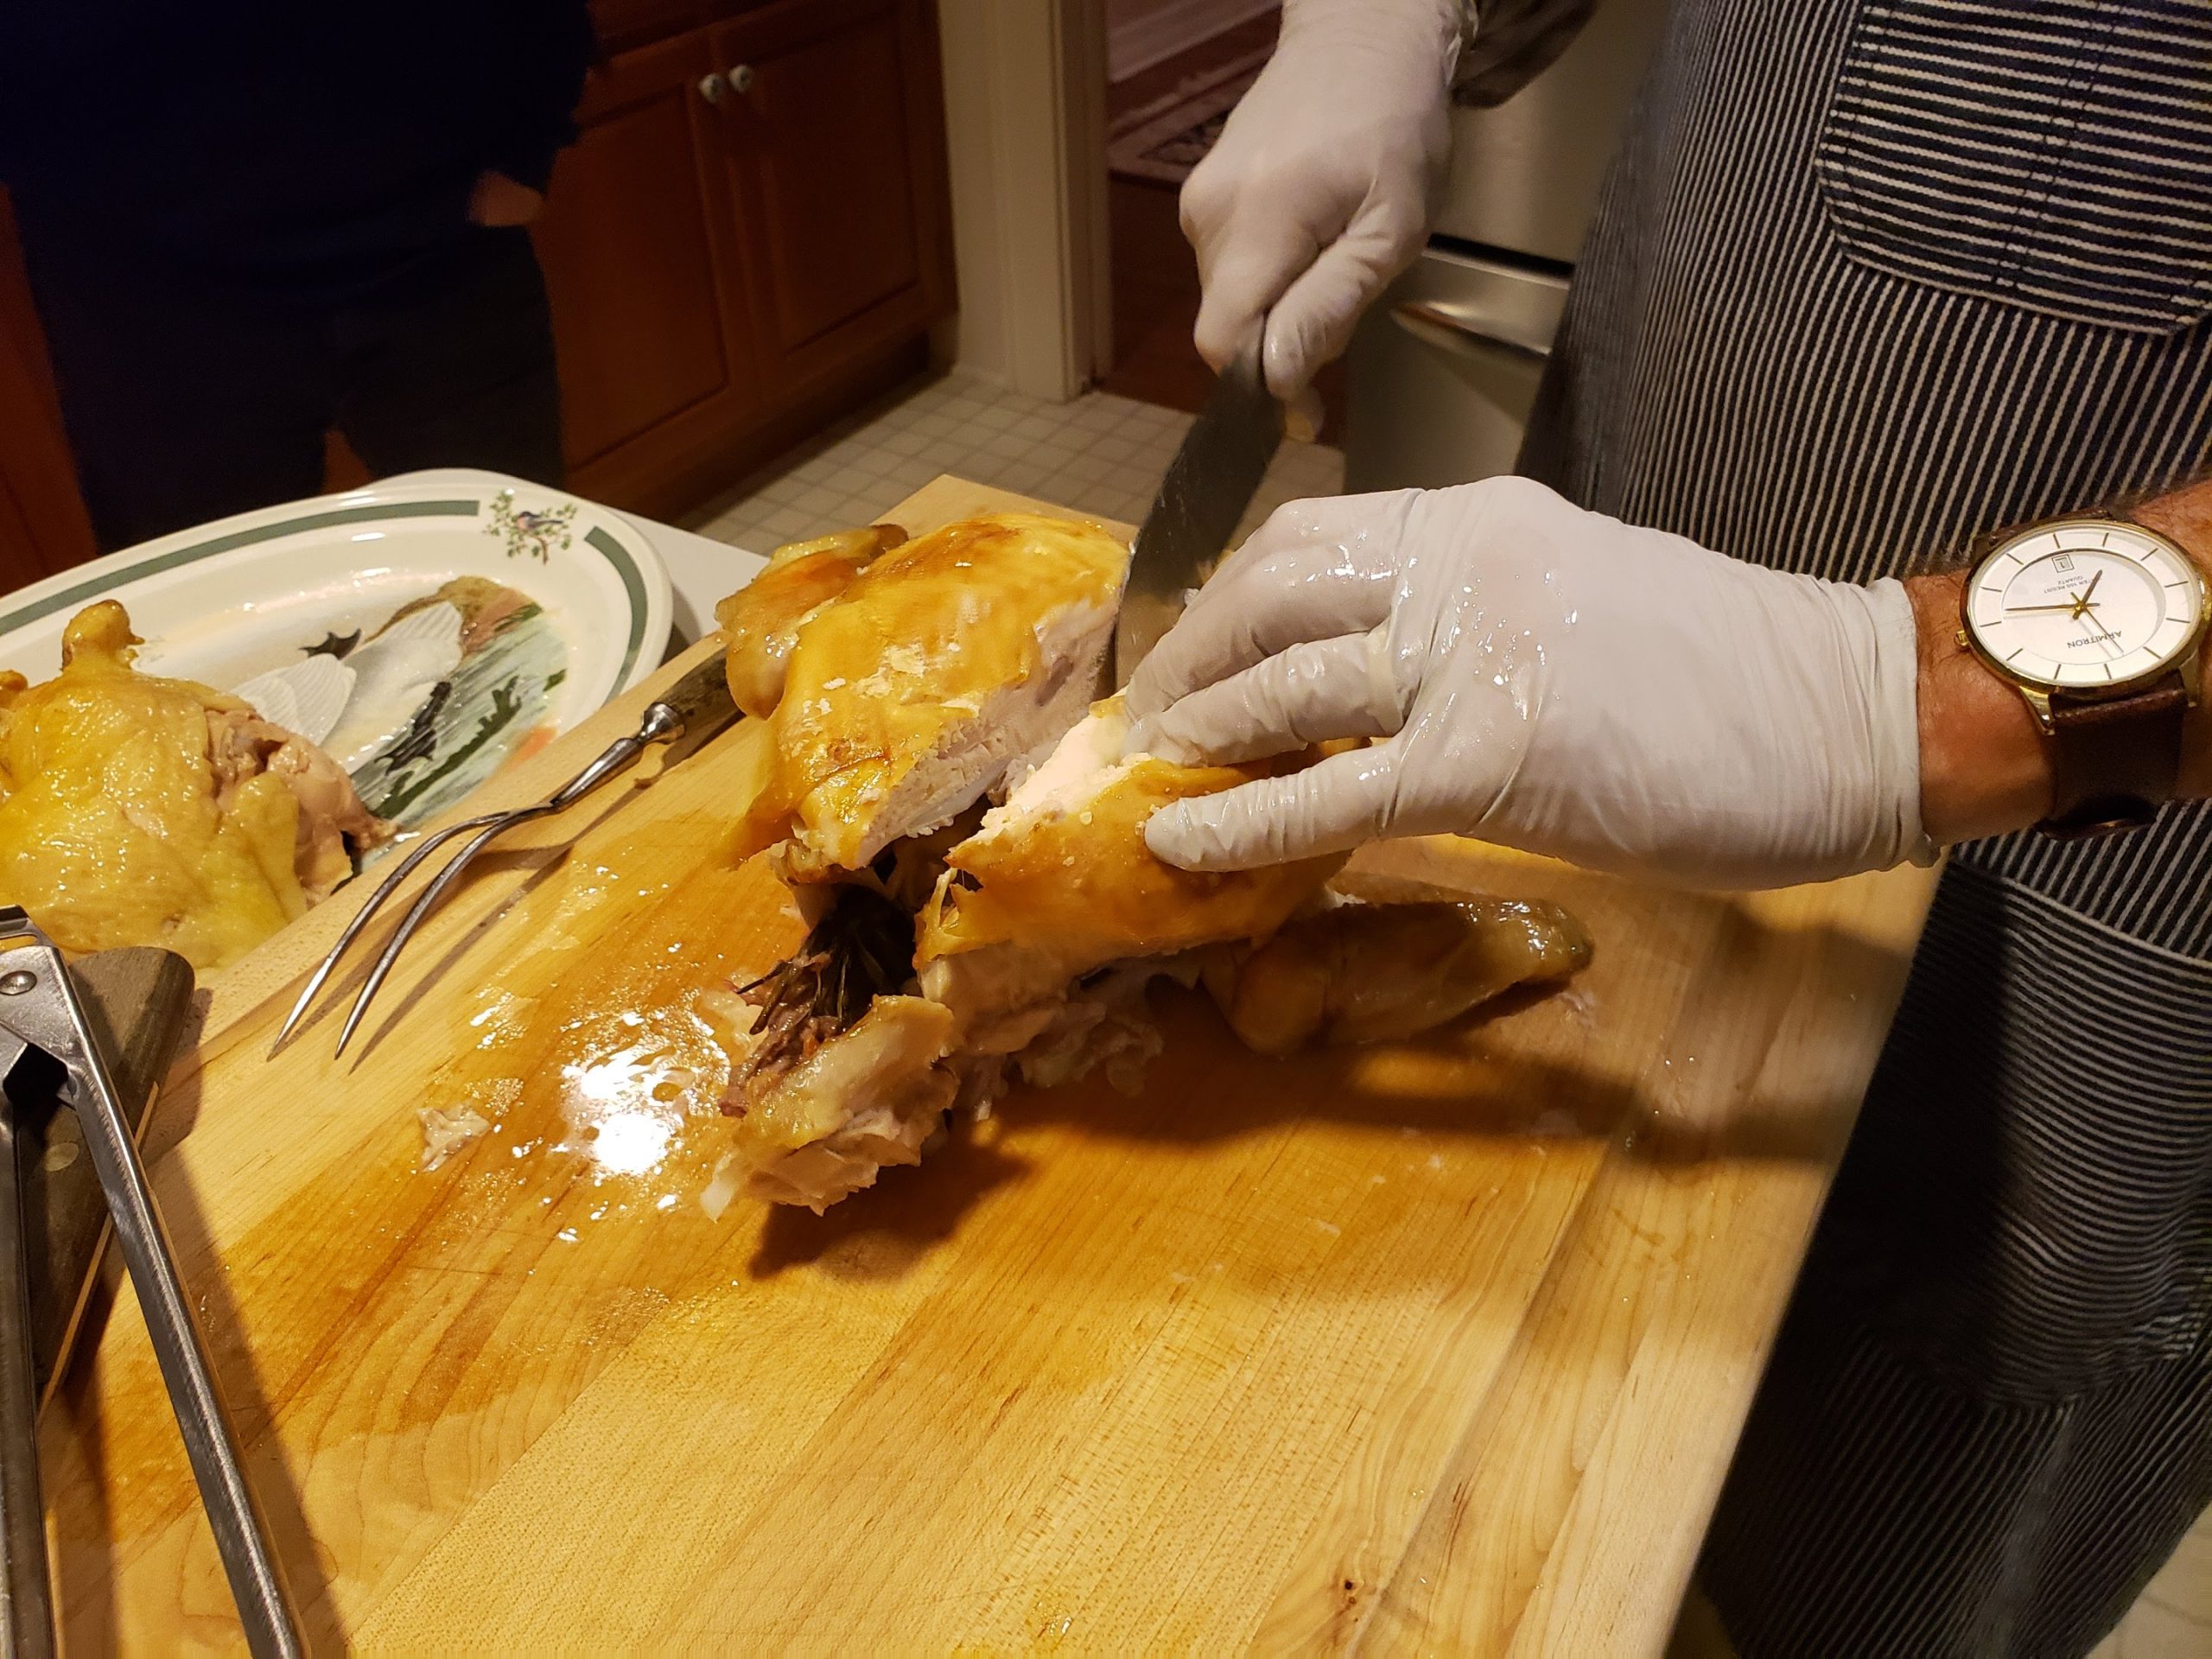
Removing the breast makes it easier to cut even slices across the grain. Run the knife along the side of the keel bone that separates the breasts and cut down along the ribs. Keep running the knife between the meat and bone making a small cut with each stroke, pulling the breast

The Oyster
away as you go. Cut it loose from the wing joint and set aside. Do the other side.
Cut the two end sections off the wing and set aside for stock. Pull the last section back to expose the joint and cut it free to serve as a mini drumstick.
There are a few dividends on the carcass for the carver. The nice chunk of white meat under the wishbone is a tasty bite. On the bottom where the thighs were cut off are prized ovals of dark meat called oysters.
Slice the breast across its long dimension keeping the slices together and taking care not to tear the skin. Hold the leg upright and slice down into the V between it and the thigh. Wiggle the knife a little
Slice the breast
to slip into the joint and cut them apart. Chunk the meat off the thigh bone or try to cut out the bone and slice the thigh like the breast. Save the carcass, wing tips and thigh bone for a delicious soup stock.
There is a helpful video from the Culinary Institute of America where Chef Brendan Walsh gives a six minute, step-by-step how-to that is worth the time. Carving a roast chicken is good practice too. With a little planning, you’ll be carving the Thanksgiving turkey like a pro.
Frank Whitman can be reached at NotBreadAloneFW@gmail.com.


No Comment